
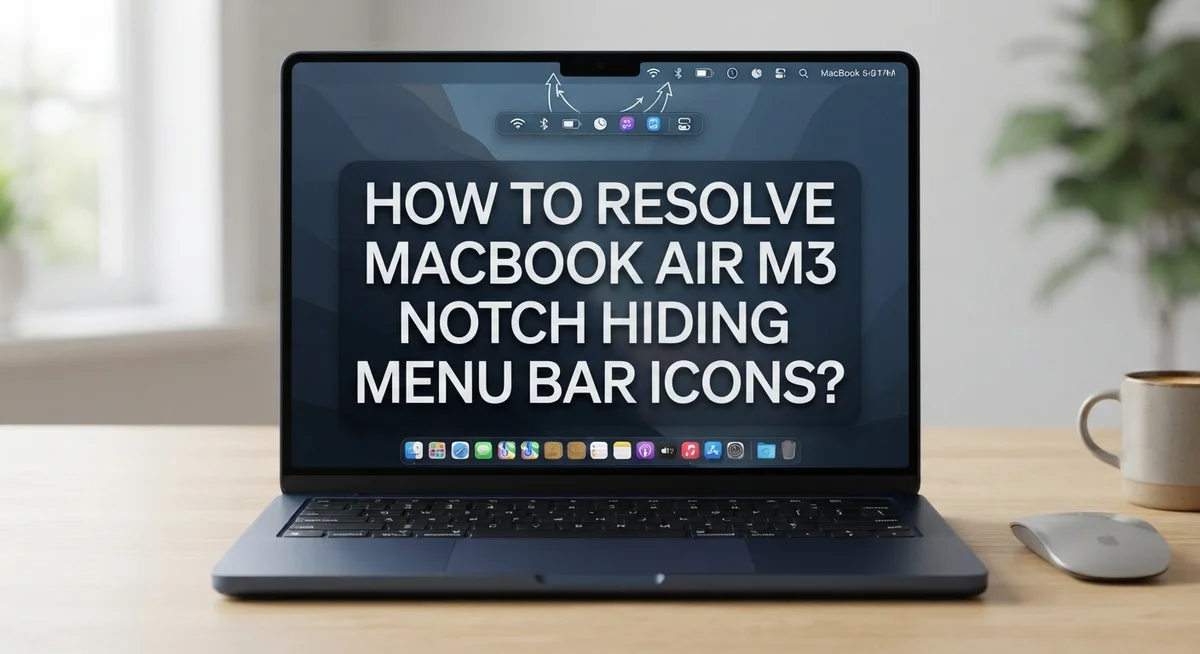
How To Resolve MacBook Air M3 Notch Hiding Menu Bar Icons?
Your MacBook Air M3 looks sleek. But that stylish notch can cause a real headache.
Many users open their laptop and notice something odd. Some menu bar icons just vanish without warning.
This happens because the notch eats up space in your menu bar. When you add too many icons, some get pushed behind it. They disappear completely, with no way to scroll and find them.
The good news? This is a known issue, not something wrong with your device. macOS simply runs out of room between your display’s right corner and the notch area.
In this guide, we will show you simple ways to fix this problem. You will learn how to free up menu bar space using Control Center settings. We will also cover how adjusting your display resolution can push icons below the notch entirely.
In a Nutshell
The notch blocks menu bar icons because it takes up space near the right corner. This is a recognized macOS bug, not a hardware fault.
Icons disappear with no warning. macOS does not show any sign that icons are hidden behind the notch.
You can free up space by moving system icons into Control Center. This gives your menu bar more room to breathe.
Changing display resolution helps too. Switching to a 16:10 aspect ratio pushes your screen content below the notch area.
Avoid adding too many menu bar items. Too many icons will always run out of space, notch or not.
There is no permanent native fix yet. You must either adjust settings yourself or use extra tools to manage icons.
Third party apps offer more control if you want to scroll through or organize hidden icons easily.
Why the Notch Hides Your Menu Bar Icons
Your MacBook Air M3 has a notch at the top of the screen, similar to iPhones. This notch houses the camera and other sensors. The problem is that your menu bar sits right where the notch is located.
The menu bar normally stretches across the top of your screen from left to right. On a MacBook Air M3, the notch interrupts this space. Your system pushes menu bar icons to the right side to avoid the notch. However, there is only limited room between the notch and the right edge of your screen.
When you add too many apps or system icons to your menu bar, they run out of physical space. The icons that do not fit simply disappear behind the notch. macOS does not warn you that icons are hidden. You just notice they vanish.
Apple recognizes this as a spacing issue. The notch takes up valuable real estate that used to hold your icons. Your MacBook Air M3 was designed with this notch, but the menu bar layout was not fully adjusted for it.
The hidden icons are still running in the background. They are just invisible to you. You cannot scroll through them or access them from the menu bar. This makes it hard to monitor certain apps or adjust settings quickly.
The root cause is simple: too many icons competing for too little space. The notch makes this problem worse than on older MacBooks without a notch. On previous models, the entire top of the screen was available for your menu bar.
Understanding this problem helps you fix it. You now know the icons are not broken or deleted. They are just pushed out of view. The solutions involve either reducing the number of icons, moving them elsewhere, or changing your display settings to create more room.
Checking How Many Menu Bar Icons You Actually Have
Before you fix the notch problem, you need to know exactly how many menu bar icons you have. This step matters because it shows you the real scope of your issue.
Start by looking at your menu bar right now. Count every icon you see on the right side of your screen. Write down the number. This includes system icons like Wi-Fi, battery, volume, and Bluetooth. It also includes app icons from programs you installed.
Next, open System Settings and go to Control Center. Look at which icons appear there. Some system functions live in Control Center instead of the menu bar. Check if any of your hidden icons might already have a Control Center option available.
Now count the icons you cannot see. These are the ones hiding behind or near the notch. You can figure this out by opening Activity Monitor or checking each app’s settings to see if it puts an icon in the menu bar.
Here is the key insight: if you have more than 8 to 10 icons total, space becomes tight on your M3 MacBook Air. The notch makes this worse because it steals real estate from the right side of your menu bar.
Take a screenshot of your menu bar. This helps you remember exactly what was there. You can reference it later when you start moving icons around.
Count your system icons separately from app icons. System icons include Control, Wi-Fi, battery, and sound. App icons come from programs like Slack, Discord, or Alfred. Knowing which category each icon belongs to helps you decide where to move it.
This counting process takes five minutes. It gives you a clear picture of your situation. You will know if you need minor adjustments or major reorganization. This information guides every fix you try next.
Step-by-Step: Moving System Icons to Control Center
Moving system icons to Control Center is the most effective way to free up menu bar space on your MacBook Air M3. This approach works because it removes built in icons from the crowded menu bar and places them in a dedicated location.
Start by opening System Settings on your Mac. Click the Apple menu in the top left corner, then select System Settings from the dropdown menu. This opens your settings panel.
Next, navigate to Control Center in the left sidebar. You will see a list of system features like Wi Fi, Bluetooth, battery, and sound. Each one has a toggle switch next to it.
Look for the option that says “Show in Menu Bar” next to each system icon. Uncheck this box for any icon you want to move. This removes that icon from your menu bar immediately.
Once you uncheck “Show in Menu Bar,” the icon automatically moves to Control Center instead. You can still access these features quickly by clicking the Control Center icon in your menu bar. All your system controls remain accessible.
Focus on moving icons you don’t need constant access to. For example, if you rarely check battery percentage in your menu bar, move it to Control Center. Keep only the icons you use frequently visible.
After unchecking each icon, your menu bar will have noticeably more space. This prevents remaining icons from hiding behind the notch. The freed up space also looks cleaner and less cluttered.
Test your changes by looking at your menu bar. You should see fewer icons now. If icons still disappear, you may need to adjust your display resolution as well or move additional icons to Control Center.
This method requires no additional software and takes only a few minutes to complete. It gives you direct control over which system features appear where on your screen.
Step-by-Step: Adjusting Display Resolution to Fix the 16:10 Ratio
Your MacBook Air M3 displays content at a specific aspect ratio. When you adjust this ratio to 16:10, the system pushes all menu bar content lower on your screen. This simple change moves icons away from the notch area.
Start by opening System Settings on your Mac. Click the Apple menu in the top left corner. Select “System Settings” from the dropdown menu. Wait for the settings window to fully load.
Next, find the Displays section. Look for “Displays” in the left sidebar. Click it to open display options. You’ll see your current resolution listed.
Here’s the important part: hold down the Option key on your keyboard. While holding Option, click the “Resolution” dropdown menu. Your Mac will show additional resolution choices that normally stay hidden. These hidden options include various aspect ratios.
Look for resolutions marked as 16:10 aspect ratio. These appear different from your current 16:9 setting. Select a 16:10 resolution that matches your screen size. Your display will adjust immediately.
After changing the resolution, check your menu bar right away. You’ll notice icons are no longer hidden behind the notch. The content has shifted down slightly, creating clear space above the menu bar. This gives your icons room to breathe.
The trade-off is minimal. Your screen shows slightly less vertical space, but you gain full access to all menu bar icons. Text remains readable. Applications function normally.
If you don’t like the change, you can always switch back. Return to System Settings and select your original resolution. The process takes less than one minute to reverse.
This method works because it changes how macOS interprets your available screen space. The 16:10 ratio automatically accommodates the notch design. No additional tools or apps are needed for this fix.
Tips for Managing Menu Bar Space Long-Term
Managing your menu bar space long-term requires a few practical habits. The key is preventing icons from piling up again after you’ve cleared space.
Start by being selective about which apps place icons in your menu bar. Not every application needs constant access from the top of your screen. Review your installed apps and disable menu bar icons for tools you use rarely. You can always re-enable them later if needed.
Set a personal limit on how many menu bar icons you keep visible. Most users find 8 to 10 icons manageable on an M3 MacBook Air. Once you hit that number, move additional icons to Control Center instead. This creates a sustainable system that prevents future clutter.
Check your menu bar weekly. Spend two minutes looking at what’s actually there. Remove icons from apps you no longer use. Uninstall applications that no longer serve your workflow. This simple habit stops icons from accumulating over time.
Keep your system icons organized. Group related icons together mentally. For example, keep all connectivity icons (Wi-Fi, Bluetooth) in one area. This makes your menu bar feel less chaotic and easier to scan.
Document your setup. Take a screenshot of your final menu bar configuration. If you ever need to reset your Mac or troubleshoot issues, you’ll remember exactly which icons you wanted visible. This reference point saves time later.
Revisit your choices seasonally. Your workflow changes throughout the year. Icons that matter in winter might be unnecessary in summer. Adjust your menu bar quarterly to match your current needs.
Remember that Control Center holds most system functions. You don’t lose functionality by moving icons there. You simply gain menu bar space while keeping quick access to important tools. This balance creates a long-term solution that actually works for your daily routine.
Common Mistakes When Trying to Fix Hidden Icons
When fixing your MacBook Air M3 notch issue, many people make preventable mistakes. Understanding these errors helps you avoid wasting time on solutions that won’t work.
The biggest mistake is adding too many menu bar entries without checking available space first. Your notch takes up valuable real estate on the right side of your menu bar. If you keep adding app icons without removing others, they simply disappear behind the notch. You won’t see a warning message or notification that space ran out.
Another common error is expecting a native Apple fix without using workarounds. Some users wait for a macOS update, thinking Apple will magically solve this problem. The notch design is intentional, so Apple’s solution involves moving icons to Control Center or adjusting your display settings. There is no hidden toggle that makes everything work perfectly.
People also make the mistake of not counting their existing icons before making changes. You need to know exactly how many system icons you have versus app icons. System icons include Control, Wi-Fi, battery, and sound. App icons are everything else. Counting takes just five minutes but saves you hours of troubleshooting.
Many users also assume all resolutions work the same way. Not every resolution option will push your content below the notch. You must specifically look for the 16:10 aspect ratio options while holding the Option key. Standard resolutions won’t fix the problem.
Finally, people forget that this issue requires ongoing management. Once you fix it, you can’t just add unlimited new apps to your menu bar. You need to maintain your setup by being selective about which apps get menu bar access.
Avoiding these mistakes means your MacBook Air M3 menu bar will stay organized and functional.
Troubleshooting Persistent Icon Visibility Issues
When menu bar icons stay hidden behind your MacBook Air M3 notch despite your efforts, you’re dealing with a persistent visibility issue. This happens because the notch physically blocks space from the right corner to its center point. The problem isn’t temporary. It requires active troubleshooting steps.
Start by identifying which icons remain hidden. Look at your menu bar and note any gaps or missing items you expect to see. Some apps place icons there automatically when you install them. Others let you choose. Understanding what’s actually hidden helps you pick the right solution.
Check your current display resolution first. Your Mac might already be using a resolution that pushes content toward the notch. Open System Settings and navigate to Displays. Look at your current resolution. If it’s not a 16:10 aspect ratio, this could be your problem. The 16:10 ratio shifts content lower on your screen, away from the notch area.
Move system icons to Control Center as your primary fix. System functions like Wi Fi, Bluetooth, and volume don’t need constant menu bar presence. Control Center gives you quick access without taking up limited space. This single step often solves the problem for most users.
Hide unnecessary third party app icons. Many apps let you disable menu bar icons in their preferences. Right click the app icon or check its settings menu. Removing icons you rarely access instantly creates breathing room.
If icons still disappear after these steps, your available space is genuinely exhausted. At this point, you’ve hit a physical limitation. The notch design simply doesn’t accommodate unlimited menu bar content. Accept this constraint and prioritize only your most essential icons for display.
Final Thoughts
The MacBook Air M3 notch problem is annoying, but it’s fixable. You don’t need advanced tech skills to solve it.
Most users find success with a mix of two fixes. Adjusting your display resolution helps push icons below the notch. Moving system icons to Control Center frees up valuable space.
These solutions work together well. You don’t have to pick just one. Combine them based on what your setup needs.
Remember, this notch issue comes from limited menu bar space. macOS hasn’t fully solved this design challenge yet. Apple recognizes it as a bug, but no permanent native fix exists yet.
Third party tools can help too. They give you more control over hidden icons. But native macOS settings often work fine for basic needs.
Start simple. Try adjusting your resolution first. Then move on to Control Center adjustments if needed. Small changes often make a big difference.
Keep your menu bar clean going forward. Fewer icons mean fewer hiding problems. This simple habit prevents future headaches.
Check your icons regularly too. Apps sometimes add new menu bar entries without asking. A quick weekly glance keeps things manageable.
Your MacBook Air M3 is a powerful machine. Don’t let a small design quirk slow you down. These fixes take just minutes to apply.
Testing different solutions helps you find what works best for your workflow. Everyone uses their Mac differently. Your ideal setup might differ from someone else’s.
Stay patient with this process. Software updates might improve things over time. Until then, these workarounds keep your menu bar functional.
The notch itself won’t disappear, but hidden icons don’t have to stay hidden. With the right adjustments, you can reclaim your menu bar space. Your MacBook Air M3 experience gets smoother from here.
Frequently Asked Questions
Why do my menu bar icons disappear behind the MacBook Air M3 notch?
Your MacBook Air M3 has a notch at the top center of the screen. This notch takes up valuable menu bar space. When you add too many app icons or system functions to your menu bar, they get pushed toward that notch area and become hidden.
The space between the right corner and the notch center is limited. Apple’s system doesn’t automatically scroll or hide these icons with a warning. This happens because the menu bar wasn’t redesigned to account for the notch.
Can I scroll through my hidden menu bar icons?
No. macOS doesn’t offer native scrolling for hidden menu bar icons. You cannot access them by clicking or swiping in that area.
Your only options are to move icons elsewhere or adjust your display settings. The hidden icons simply stay out of view unless you take action to reorganize them.
What’s the easiest way to fix this problem?
Start by adjusting your display resolution. Open System Settings, go to Displays, and select your Built in Display. Hold the Option key and choose a different resolution with a 16:10 aspect ratio.
This pushes your content lower on the screen, away from the notch. Many users find this single step solves the problem without needing additional changes.
Should I move all my icons to Control Center?
Not necessarily all of them. Focus on system icons first like Wi Fi, Bluetooth, volume, and battery. These functions work well in Control Center and free up valuable menu bar real estate.
Keep app icons you use frequently on your menu bar. This balance gives you quick access while preventing overcrowding near the notch.
Is this notch issue permanent?
Yes, unless you adjust your resolution or relocate your icons. Apple hasn’t released a native fix because the workarounds are effective. Your notch won’t disappear, but your hidden icons don’t have to stay hidden with these solutions in place.

Hi, I’m Amy! I’m passionate about tech and love breaking down complex product specs into simple, actionable advice. I review gadgets, compare tools, and write buying guides to help you spend smarter. Got a question? Drop me a message — I’d love to hear from you!