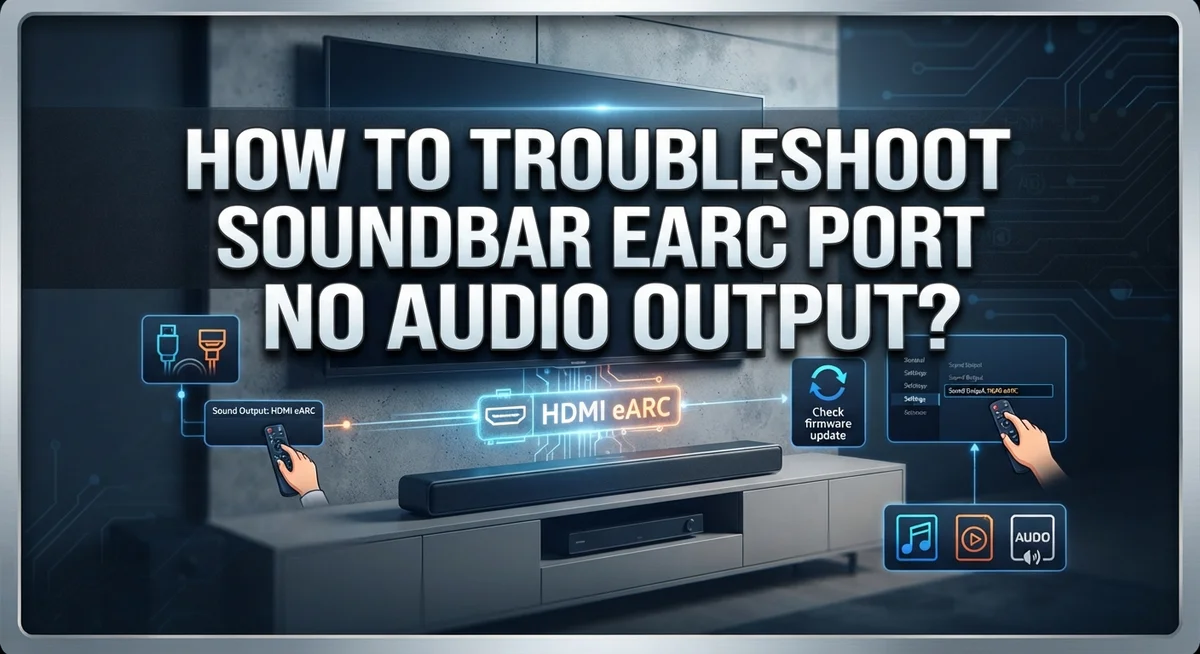
How To Troubleshoot Soundbar eARC Port No Audio Output?
You just set up your soundbar, connected the HDMI cable, and… silence. Nothing comes out, even though everything looks connected correctly. This is one of the most frustrating problems soundbar owners face.
The eARC (Enhanced Audio Return Channel) port is supposed to make audio simple. One cable, high-quality sound, no hassle. But when it stops working, the cause is not always obvious.
The good news? Most eARC audio issues come down to a few common mistakes. Wrong ports, wrong settings, or a quick fix you may have overlooked. These problems are very fixable once you know where to look.
This guide walks you through every step to get your soundbar working again. You will learn how to check your HDMI connections, adjust your TV audio settings, and enable eARC properly on both devices.
In a Nutshell
Power cycle both devices first. Turn off your TV and soundbar, unplug them for 2 minutes, then reconnect everything before trying anything else.
Check your HDMI cable and port. Make sure you are using an ARC-compatible HDMI cable and that it is plugged into the port labeled ARC or eARC on both devices.
Enable eARC in your TV settings. Go to your TV’s sound or audio settings and turn on HDMI eARC mode manually. Many TVs have this turned off by default.
Set your TV audio output to external speakers. If your TV is still sending audio to its built-in speakers, your soundbar will stay silent.
Confirm your soundbar’s input source matches. Your soundbar must be set to the correct HDMI input to receive audio from the TV.
Update firmware on both devices. Outdated software is a very common cause of eARC connection failures that people often overlook.
What Is eARC and How Does It Work With Your Soundbar?
eARC stands for Enhanced Audio Return Channel. It is a feature built into modern HDMI connections. Think of it as a two way street for sound between your TV and soundbar.
Here’s how it works in simple terms. Your TV receives audio from streaming apps, cable boxes, or other sources. Instead of playing that sound through tiny built in speakers, eARC sends the audio back through the HDMI cable to your soundbar. Your soundbar then plays the high quality sound you actually want to hear.
The key word is “enhanced.” Regular ARC (Audio Return Channel) works, but eARC is faster and handles more advanced audio formats. It supports surround sound, Dolby Atmos, and other immersive audio types that make movies and shows sound incredible.
For eARC to work, three things must connect properly. First, your TV needs an HDMI port labeled ARC or eARC. Second, you need an ARC compatible HDMI cable. Third, your soundbar must support eARC as well.
The connection chain looks like this. Your cable box or streaming device connects to your TV. Your soundbar connects to that same TV using the ARC port. When you play content, the TV captures the audio and sends it backward through that HDMI cable to your soundbar.
Both devices must “agree” to use eARC. Your TV’s settings need to enable HDMI eARC mode. Your soundbar needs to be set to listen on the HDMI input. When everything aligns, audio flows smoothly without extra cables or complicated setups.
This is why eARC makes home entertainment simpler and cleaner than older audio connection methods.
How To Check Your HDMI Cable and Port Connections
Your HDMI cable and port are the foundation of eARC audio. If these connections fail, no audio reaches your soundbar. Let’s check them properly.
Start with the cable itself. Not all HDMI cables support eARC. Standard HDMI cables work for video only. You need an ARC-compatible HDMI cable to carry audio signals back to your soundbar. Check your cable’s packaging or manual to confirm it supports ARC or eARC. If you are unsure, try a different cable you know works.
Next, inspect the physical connection. Look at where the HDMI cable plugs into your TV. Make sure it sits firmly in the port. A loose connection causes silent audio or intermittent sound. Gently push the cable in until you hear a click.
Find the correct HDMI port on your TV. Most TVs have one port labeled “HDMI ARC” or “HDMI eARC.” This is usually HDMI 3 or 4, but it varies by brand. Check your TV manual to locate it. Connecting to the wrong port means eARC never activates, even if everything else is correct.
Check the soundbar’s HDMI input. The cable must also connect securely to your soundbar’s HDMI input port. Look for any visible damage, bent pins, or debris inside the port.
Test with a different cable if needed. Sometimes a cable fails without obvious signs. Swap it with another ARC-compatible HDMI cable to rule out cable damage.
Once your connections are solid and verified, you can move forward with software settings. Physical connections always come first.
How To Enable eARC Mode in Your TV Audio Settings
Enabling eARC mode in your TV is the most important software step. Your TV has this feature built in, but it stays disabled by default. You must turn it on manually for audio to flow through the soundbar.
Start by accessing your TV’s main menu. Look for “Settings” or “Setup” options. From there, find the “Sound” or “Audio” section. Different TV brands use slightly different names, but this menu always controls sound output.
Inside the audio settings, search for “HDMI eARC” or “HDMI ARC.” You may see it listed as “HDMI Audio Return Channel” on some models. Highlight this option and select “On” or “Enable.” This tells your TV to send audio back through the HDMI cable instead of using its built in speakers.
Next, locate “Audio Output” or “Speaker Output” settings. Change this from “TV Speaker” to “External Speaker” or “HDMI.” This step prevents your TV from trying to play sound through both the soundbar and its own speakers at the same time.
Some TVs have an “Expert Settings” or “Advanced Audio” section. If your TV offers Dolby Atmos support, enable this feature here. It improves audio quality when your soundbar supports it too.
After making these changes, save your settings and exit the menu. Your TV will remember these choices even after power cycling.
Test the audio by playing content on your TV. Sound should come from your soundbar now, not the TV speakers. If you still hear nothing, verify that your soundbar is set to receive audio from the correct HDMI input source.
How To Configure Your TV Audio Output for External Speakers
Your TV’s audio output settings control where sound travels. When you connect a soundbar via eARC, your TV must know to send audio through the HDMI cable instead of its built-in speakers.
Start by opening your TV’s settings menu. Look for the Sound or Audio section. This is where all speaker options live.
Find the option labeled Audio Output or Speaker Output. Your TV will show several choices here. Select External Speaker or HDMI depending on your TV model. This tells your TV to stop using its internal speakers and route audio to your soundbar instead.
Some TVs hide this setting deeper in the menu. Check for Advanced Audio Settings or Expert Settings. Look for anything mentioning HDMI eARC or Audio Return Channel. Make sure this feature is turned on.
Pay attention to volume settings too. Your TV has its own volume level, and your soundbar has another. Both need to be at appropriate levels. If your TV volume is set to zero or muted, no sound reaches your soundbar.
After adjusting these settings, save your changes before exiting the menu. Different TV brands organize menus differently, but the concept stays the same.
Test your configuration by playing a show or movie. You should hear sound from your soundbar now. If you still get no audio, check that your soundbar is set to receive input from the correct HDMI port. Your soundbar may have its own input selector button on the remote or device.
These settings work together with your physical connections to create a working audio system.
How To Power Cycle Your TV and Soundbar to Reset the Connection
Power cycling resets your TV and soundbar connection. This simple step fixes most eARC audio problems. Here’s how to do it correctly.
Start with your soundbar first. Locate the power button on the back or remote. Press it to turn off the soundbar completely. Wait 30 seconds to ensure it fully powers down.
Next, turn off your TV. Use the remote or the power button on the device itself. Give it another 30 seconds. This waiting period is important because it clears temporary settings from memory.
Now disconnect the power cable from your soundbar. Pull it straight out of the wall outlet. Do the same with your TV. Leave both devices unplugged for a full 2 minutes. This longer wait ensures all residual power drains completely.
While devices are unplugged, check your HDMI cable connection. Gently unplug the HDMI cable from both the TV and soundbar. Inspect both ends for any bent pins or visible damage. Reconnect the cable firmly into the correct eARC ports on each device.
After 2 minutes have passed, plug the TV back in first. Wait 30 seconds for it to fully boot up. Then plug in your soundbar. Wait another 30 seconds for it to start.
Turn both devices on using their power buttons. Your TV should display its startup screen. The soundbar should show lights indicating it’s active.
Test the audio connection now. Play something on your TV like a show or movie. Listen for sound from your soundbar. If audio still doesn’t work, move to the next troubleshooting step. Power cycling often solves connection issues, but sometimes additional settings adjustments are needed.
How To Update Firmware on Your TV and Soundbar
Firmware updates fix bugs and improve compatibility between your TV and soundbar. Both devices need current software to communicate properly over eARC. Outdated firmware often causes audio problems that simple troubleshooting cannot solve.
Start by checking your TV’s current firmware version. Go to Settings, then About TV or System Information. Write down the version number you see. Next, visit the manufacturer’s support website on your computer. Search for your TV model number. Look for a Firmware or Software Downloads section. Compare the version online with what your TV shows. If a newer version exists, download it to a USB drive.
Connect the USB drive to your TV’s USB port. Go back to Settings and find System Update or Software Update. Select the option to update from USB. Follow the on screen instructions carefully. The TV will restart during this process. Do not unplug the TV while updating. Wait for the update to complete fully.
Now update your soundbar the same way. Check its current firmware version using the soundbar’s app or menu. Visit the soundbar manufacturer’s website and download the latest firmware if available. Most soundbars update through an app on your phone or through a USB connection.
After both devices finish updating, power cycle them completely. Unplug both for 30 seconds, then plug them back in. Turn them on and test your audio connection by playing content on your TV.
Updated firmware resolves many eARC issues automatically. If audio still doesn’t work after updating, move to the next troubleshooting step. Firmware updates are free and essential for proper device function.
Common Mistakes That Cause eARC Audio Output Failures
Many people make simple mistakes that stop eARC audio from working. Understanding these errors helps you fix the problem faster.
Using the wrong HDMI cable is the most common mistake. Regular HDMI cables don’t support eARC features. You need a cable specifically labeled as ARC compatible or high speed HDMI. Check your cable packaging or manual to confirm it supports eARC technology.
Plugging into the wrong port causes immediate failure. Your TV has multiple HDMI ports, but only one or two support eARC. Look for the port labeled “ARC” or “eARC” on the back of your TV. Using any other port won’t work, even if everything else is correct.
Forgetting to enable eARC in TV settings is another frequent error. Your TV doesn’t automatically turn on eARC mode. You must manually enable it in your audio settings menu. Without this step, your TV won’t send audio through the HDMI cable.
Leaving devices muted wastes troubleshooting time. Check the volume on both your TV and soundbar. Make sure neither device shows a muted indicator. Sometimes the soundbar has a physical mute button on the back that gets accidentally pressed.
Skipping firmware updates prevents compatibility fixes. Manufacturers release updates that solve eARC problems. Outdated firmware on your TV or soundbar can block the connection completely.
Not checking the audio output setting leaves sound going to the TV speakers instead. Your TV must be set to output audio externally, not to its built in speakers. This setting controls where your TV sends the audio signal.
These mistakes are easy to fix once you know what to look for.
How To Use CEC Settings to Improve eARC Audio Performance
CEC stands for Consumer Electronics Control. This technology lets your TV and soundbar communicate with each other through the HDMI cable. When CEC works properly, your devices automatically sync their settings and respond to a single remote control.
Enable CEC on your TV first. Go into your TV’s settings menu. Look for options labeled “CEC,” “HDMI CEC,” “Anynet+,” or “Simplink” (the exact name varies by brand). Turn this feature on. Your TV now talks to connected devices through HDMI.
Next, enable CEC on your soundbar. Check your soundbar’s menu or settings. Most soundbars have a CEC option you can toggle on. Some soundbars enable this automatically. Consult your soundbar’s manual to confirm the exact steps for your model.
Test if devices respond to one remote. Use your TV remote to adjust the soundbar volume. If the soundbar volume changes, CEC is working correctly. This confirms both devices can communicate.
Adjust CEC settings for better audio performance. In your TV settings, look for “HDMI audio output” or “sound output” options. Set this to “External Speaker” or “Soundbar.” Your TV now sends all audio through the HDMI eARC connection instead of its built in speakers.
Power cycle after changing CEC settings. Turn off both devices completely. Unplug them for 30 seconds. Plug them back in and turn them on. This refresh helps the new CEC settings take effect properly.
CEC improves eARC performance by keeping your TV and soundbar synchronized. When both devices work together through CEC, audio drops and connection issues decrease significantly.
Final Thoughts
Fixing a soundbar eARC port with no audio output is absolutely doable with the right steps.
You now know that eARC issues almost always come from a small number of causes. Wrong cables, wrong ports, disabled settings, and outdated firmware are the biggest culprits.
Start simple. Check your physical connections first. Make sure your HDMI cable is plugged into the port labeled ARC or eARC on both your TV and soundbar.
Then move into your TV settings. Enable eARC mode, set audio output to external speakers, and turn on CEC. These three settings work together to make eARC function correctly.
Power cycling is more powerful than most people realize. Unplugging both devices for two full minutes clears communication errors that settings changes alone cannot fix.
Firmware updates are not optional. Skipping them means your devices may never communicate properly, no matter what else you try.
Always confirm your soundbar is set to the correct input source. A soundbar waiting on the wrong input will stay silent even when everything else is configured perfectly.
Also double-check that neither device is muted. This simple mistake wastes a lot of troubleshooting time.
If you are connecting through a PC, remember that eARC compatibility is not guaranteed. Some computers do not support eARC output through HDMI, so verify your device supports it before troubleshooting further.
Work through each step in order. Do not skip ahead or assume a step does not apply to your setup.
Most eARC audio problems are solved within these steps. Stay patient, follow the process, and your soundbar will deliver the audio quality it was built to produce.
Frequently Asked Questions
Why does my soundbar show no audio even after connecting the eARC port?
eARC requires several things to work together. Your TV must have eARC enabled in its sound settings. The HDMI cable must support eARC technology. The cable must connect to the port labeled ARC or eARC on both your TV and soundbar. If any one of these is missing, you get silence. Start by checking your TV’s sound output settings. Make sure it says “External Speaker” instead of “TV Speaker.”
What should I do if my TV recognizes the soundbar but produces no sound?
This usually means your TV audio output is still going to the wrong place. Go into your TV settings and find the audio output menu. Look for an option that says “HDMI eARC” or “External Speaker.” Select it. Next, check your soundbar’s input source. Press the input button on your soundbar remote and confirm it’s set to HDMI or eARC mode. Your soundbar won’t play audio if it’s listening to the wrong input channel.
Can I fix eARC audio issues without updating firmware?
Firmware updates are not optional for eARC to work properly. Manufacturers release updates to fix compatibility problems between devices. Without these updates, your TV and soundbar may never communicate correctly. Check your TV’s settings menu for a software update option. Do the same on your soundbar. Restart both devices after updating.
Is my HDMI cable causing the no audio problem?
Yes, this is very common. Not all HDMI cables support eARC. Older cables work fine for regular HDMI but fail with eARC. You need a cable labeled as eARC compatible. Also check that you are using the correct HDMI port. Most TVs have only one port that supports eARC, usually labeled clearly. Using the wrong port means eARC cannot function.

Hi, I’m Amy! I’m passionate about tech and love breaking down complex product specs into simple, actionable advice. I review gadgets, compare tools, and write buying guides to help you spend smarter. Got a question? Drop me a message — I’d love to hear from you!