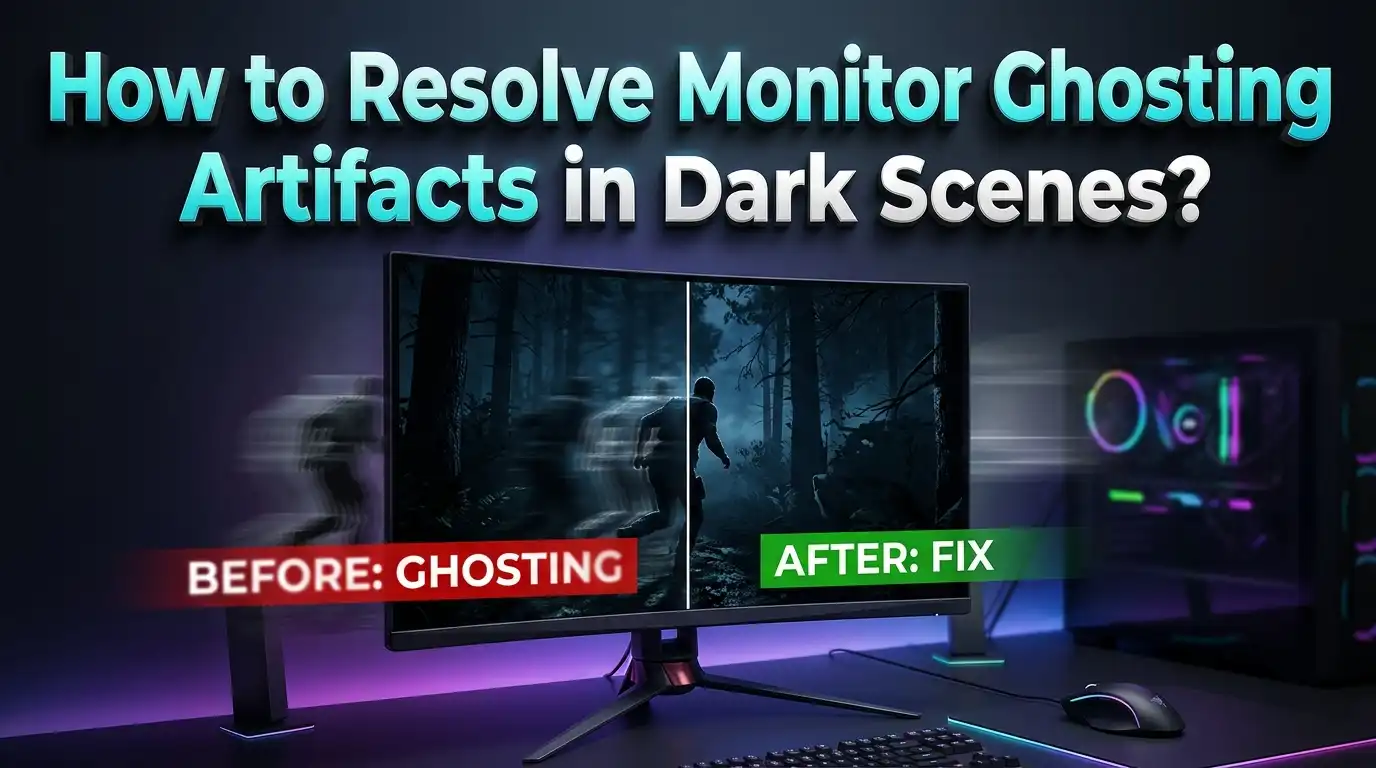
How to Resolve Monitor Ghosting Artifacts in Dark Scenes?
You load up your favorite game, step into a dark hallway, and suddenly everything looks wrong. Faint trails follow every moving object. Shadows smear across the screen like wet paint. The problem gets worse during fast camera pans in dim environments, yet bright menus and daylight scenes look perfectly fine.
This frustrating issue is monitor ghosting in dark scenes, and it affects millions of displays across the globe. The good news? You do not need to replace your monitor in most cases. The right combination of settings, cable checks, and software tweaks can dramatically reduce or even eliminate dark scene ghosting.
This guide walks you through every practical fix, from the simplest setting change to deeper hardware solutions, so you can enjoy clean visuals no matter how dark the content gets.
In a Nutshell
- Monitor ghosting in dark scenes happens because pixels struggle to shift between dark gray shades fast enough. The gray to gray (GtG) response time for dark transitions is often much slower than the advertised response time, which typically measures only the fastest possible pixel change.
- VA panels are the most common culprits for dark scene ghosting because their pixel structure takes longer to complete dark to mid gray transitions. However, IPS and TN panels can also show ghosting if response times are slow.
- The overdrive setting on your monitor is your single most powerful tool. Setting it to a medium level usually provides the best balance between reducing dark trails and avoiding bright halos called inverse ghosting.
- Cables, drivers, and signal paths matter more than most people think. A damaged HDMI cable, an outdated GPU driver, or an incorrect refresh rate setting in your operating system can all create or worsen ghosting artifacts.
- Black Equalizer, gamma adjustments, and in game post processing settings can hide or reduce visible smearing by lifting the darkest tones slightly so pixels have less distance to travel during transitions.
- If all software fixes fail, panel technology is the limiting factor. OLED monitors have virtually zero ghosting because their pixels switch states almost instantly, making them the best long term solution for anyone highly sensitive to dark scene smearing.
What Is Monitor Ghosting and Why Does It Happen
Monitor ghosting is a visual artifact that appears as a faint trail or shadow behind moving objects on your screen. The trail looks like a blurry duplicate image that follows the object for a brief moment. It occurs because the pixels on your display cannot change color fast enough before the next frame arrives.
Every monitor has a pixel response time that describes how quickly each pixel shifts from one shade to another. At 144Hz, your monitor displays a new frame every 6.94 milliseconds. At 240Hz, that window shrinks to about 4.17 milliseconds. If a pixel needs 15 or 20 milliseconds to complete a color change, part of the old frame bleeds into the new one.
The key detail most people miss is that response time is not a single number. A monitor might complete a black to white transition in 1 millisecond but take 20 milliseconds to shift from dark gray to medium gray. Manufacturers advertise the fastest possible transition, not the average or the slowest. This gap between marketing and reality explains why your monitor can look sharp on a bright desktop yet smear badly in a dark game level.
Ghosting is different from image retention and burn in. Image retention is a temporary afterimage from static content displayed for long periods. Burn in is permanent pixel damage. Ghosting is a response time issue that happens during motion, and it does not cause lasting harm to your display.
Why Dark Scenes Make Ghosting Worse
Dark content exposes ghosting because small brightness differences between shades become extremely visible when the overall image is dim. A shadow moving across a dark wall only changes by a few gray levels, but your eye picks up the trailing smear against that dark background with high sensitivity.
LCD monitors use liquid crystals that physically rotate to change how much light passes through. Large jumps from black to white involve a strong voltage change that moves the crystals quickly. Subtle transitions between neighboring dark shades involve tiny voltage changes, and the crystals move sluggishly through those low brightness states.
VA panels suffer the most from this because their crystal alignment structure excels at blocking light for deep blacks, but that same structure resists fast changes at the dark end of the brightness range. Measurement data from display review sites consistently shows that dark to mid gray transitions on VA panels can take 15 to 25 milliseconds, while bright transitions finish in 2 to 5 milliseconds.
IPS panels handle dark transitions better on average, but they still show some ghosting in very fast content. TN panels are quick across the board but sacrifice color quality and viewing angles. OLED panels avoid this problem entirely because individual pixels emit their own light and switch states in roughly 0.03 milliseconds.
How to Test Your Monitor for Dark Scene Ghosting
Before you start changing settings, confirm that ghosting is actually your problem. Open a browser and visit the Blur Busters UFO Motion Test at testufo.com/ghosting. Run the test at your monitor’s native refresh rate and resolution.
Watch the moving UFO objects carefully. Track them with your eyes as they move across the screen. Look for dark trails behind the objects or bright halos around them. A clean display shows only the UFO with no visible trailing. A ghosting display shows a shadow or duplicate image following the object.
Next, switch to a dark background test. Many UFO test pages let you change the background color. Use a dark gray or near black background to stress the exact transitions that cause problems in games and movies. If you see heavy smearing on the dark background but clean motion on a light background, your monitor has slow dark to gray pixel response.
Also check whether your issue is signal ghosting. If you see a faint duplicate of everything on screen including static text and still images, the problem is likely a bad cable, loose connector, or faulty port. True motion ghosting only appears on moving objects.
Adjust Your Overdrive Settings for the Best Results
Overdrive is the most effective setting for reducing ghosting on LCD monitors. It increases the voltage sent to pixels during transitions, which forces them to change color faster. Every major monitor brand includes some version of this feature, though the name varies.
Look in your monitor’s on screen display (OSD) menu for settings labeled Overdrive, Response Time, OD, TraceFree, or SmartResponse. You will usually find several levels such as Off, Normal, Fast, and Extreme. Some monitors use Weak, Medium, and Strong instead.
Start at the middle setting. Run the UFO ghosting test again and observe the results. If dark trails remain, step up one level. If you see bright white or colored halos around moving objects, you have pushed overdrive too high and created inverse ghosting. Step back down one level.
The highest overdrive setting is almost never the best choice. Aggressive overdrive pushes pixels past their target value, creating overshoot artifacts that look worse than the original ghosting. A medium or “Normal” setting delivers the cleanest balance for most monitors.
One important detail: if you use adaptive sync (FreeSync or G Sync), your refresh rate changes dynamically with your frame rate. Overdrive behavior can shift at different refresh rates. Test overdrive at both high and low frame rates to find the setting that works across your typical gaming range. Some monitors offer variable overdrive that adjusts automatically, but quality varies by model.
Use Black Equalizer and Gamma Adjustments
When overdrive alone does not eliminate dark scene smearing, Black Equalizer (also called Shadow Boost, Black Boost, Shadow Control, or Black Level) can reduce the visible impact. This feature lifts the darkest tones on your display, making shadows lighter and reducing the contrast between dark shades.
The result is that pixels have less distance to travel during dark transitions. A pixel jumping from level 10 to level 40 on a 0 to 255 brightness scale smears less when the Black Equalizer raises level 10 to level 25. The transition becomes smaller and faster.
The tradeoff is a less contrasty image. Blacks look more gray, and dark scenes lose some of their depth. You can partially offset this by increasing color vibrancy or digital vibrance in your GPU control panel to restore some visual punch.
If your monitor does not have a Black Equalizer feature, adjust the gamma setting directly. The default gamma is usually 2.2. Lowering it to 2.0 or 1.8 brightens dark areas and reduces the severity of dark smearing. This approach works on almost any monitor because gamma controls are available in most OSD menus and GPU software.
Keep in mind that these adjustments mask the smearing rather than fix the underlying pixel speed. They are best used in combination with proper overdrive settings for the most effective result.
Set the Correct Refresh Rate and Match Your Frame Rate
A surprisingly common cause of unnecessary ghosting is a mismatch between your monitor’s capability and your system settings. Many users buy a 144Hz or 240Hz monitor but never change the refresh rate in their operating system, leaving it stuck at 60Hz.
On Windows, go to Settings, then System, then Display, then Advanced Display. Confirm that the refresh rate matches your monitor’s highest supported value. On macOS, check System Preferences under Displays.
Higher refresh rates reduce ghosting because each frame is displayed for a shorter time. At 60Hz, each frame stays visible for 16.67 milliseconds. At 144Hz, that drops to 6.94 milliseconds. Faster frame turnover means less time for your eye to notice a slow pixel transition.
Equally important is matching your GPU’s frame output to your display’s refresh rate. If your GPU produces 80 frames per second on a 144Hz monitor, the mismatch can cause uneven frame pacing that makes ghosting and stuttering more noticeable. Lower demanding game settings like ray tracing, volumetric fog, and ultra shadows to push your frame rate closer to your monitor’s refresh target.
Enabling V Sync, FreeSync, or G Sync helps synchronize frame delivery and reduces tearing, but watch for overdrive behavior changes when adaptive sync is active.
Check Your Cables, Ports, and Connections
Hardware problems in the signal chain can create artifacts that look exactly like monitor ghosting but have nothing to do with pixel response time. A damaged cable, a loose connector, or a low quality adapter can degrade the signal and produce faint duplicate images, flickering, or smearing.
Use DisplayPort for high refresh rate PC gaming whenever possible. DisplayPort delivers higher bandwidth than most HDMI versions and supports adaptive sync more reliably on many monitors. If you must use HDMI, make sure you have a cable rated for your resolution and refresh rate. A standard HDMI cable may not support 4K at 120Hz or higher.
Inspect your cable physically. Run your fingers along its length and check both connectors for bent pins, corrosion, or loose fit. Try a different cable to see if the artifacts disappear. If they do, the original cable was the problem.
Also check whether nearby devices create electromagnetic interference. Wireless routers, speakers, printers, and unshielded power cables placed close to your monitor cable can inject noise that causes visual artifacts. Moving these devices a few inches away from your display cable can sometimes resolve the issue completely.
Update Your GPU Drivers and Monitor Firmware
Outdated software is an overlooked cause of ghosting and visual artifacts. GPU driver updates frequently include fixes for display compatibility issues, frame pacing bugs, and adaptive sync problems that can contribute to ghosting.
Visit your GPU manufacturer’s website (NVIDIA, AMD, or Intel) and download the latest driver for your specific graphics card model. Install it and restart your system. Many users report that a simple driver update resolves ghosting problems they had been troubleshooting for weeks.
Some monitors also support firmware updates that improve overdrive tuning, fix adaptive sync behavior, or add new response time modes. Check your monitor manufacturer’s support page to see if a firmware update is available. The process usually involves downloading a file to a USB drive and running the update through the monitor’s OSD menu.
After updating drivers and firmware, retest your monitor using the UFO ghosting test to see if the artifacts have improved. Changes to overdrive algorithms in firmware updates can dramatically shift how your monitor handles dark transitions.
Disable Problematic In Game Settings
Some game settings amplify the appearance of ghosting or add their own form of smearing that stacks on top of real pixel response issues. Motion blur is the biggest offender. Many games enable motion blur by default to create a cinematic look, but it blurs edges before the signal even reaches your monitor.
Turn off motion blur in your game’s graphics settings. Also disable or reduce film grain, which adds visual noise that makes ghosting harder to judge. Heavy post processing effects like chromatic aberration and vignette can also obscure your ability to see whether real ghosting exists.
Sharpening filters deserve special attention. On VA panels with slow dark transitions, in game sharpening can create flickering artifacts along high contrast edges during camera pans. Disabling the sharpening filter or switching to a lighter setting often eliminates this secondary artifact.
Temporal anti aliasing (TAA) uses data from previous frames to smooth edges, which can introduce its own ghostly trailing effect. If your game offers alternatives like FXAA, MSAA, or DLAA, try switching to see if the perceived ghosting decreases. Some games let you adjust TAA sharpness separately, which provides a middle ground.
Consider Motion Blur Reduction Technology
Many gaming monitors include a feature called Motion Blur Reduction (MBR), also known as backlight strobing, ULMB, ELMB, DyAc, or 1ms Motion Blur Reduction depending on the brand. This technology flashes the backlight in sync with frame transitions to reduce perceived motion blur.
MBR works by turning the backlight off briefly between frames. Your eye sees each frame as a sharp snapshot rather than a continuous blend. This can significantly reduce the appearance of dark scene smearing because the transition period happens while the backlight is off and therefore invisible.
The downsides are real. MBR reduces overall screen brightness because the backlight is off part of the time. It introduces flickering that is invisible to most people but can cause headaches or eye strain in those sensitive to it. Most MBR implementations also cannot be used at the same time as adaptive sync, so you must choose between tear free gaming and strobe based clarity.
For the best MBR results, match your frame rate to your refresh rate as closely as possible. On a 144Hz monitor, try lowering the refresh rate to 120Hz and capping your frame rate at 120 FPS. This gives the strobe timing a stable target for consistent clarity.
Understand Panel Technology Differences
If you have tried every setting and still see significant dark scene ghosting, the panel technology itself may be the limiting factor. Understanding the strengths and weaknesses of each panel type helps you make informed decisions.
VA panels deliver the highest contrast ratios among LCD types, often 3000:1 or higher. This creates deep, rich blacks that look beautiful in movies and dark games. The tradeoff is that dark pixel transitions are inherently slower, making VA the most prone panel type to dark scene smearing.
IPS panels offer strong color accuracy, wide viewing angles, and faster dark transitions than most VA panels. Their contrast ratio is typically around 1000:1, which means blacks look less deep. For gaming that includes both fast action and dark content, IPS provides a good balance of speed and image quality.
TN panels are the fastest LCD type for response times but deliver the weakest color reproduction and narrowest viewing angles. They have become less popular as fast IPS panels have closed the speed gap.
OLED panels represent a fundamental shift. Each pixel produces its own light and switches states in approximately 0.03 milliseconds, which is roughly 30 to 50 times faster than the best LCD panels. Dark scene ghosting is virtually nonexistent on OLED. The tradeoffs include higher price, potential burn in risk with static content, and lower peak brightness compared to high end mini LED backlit LCDs.
When to Replace Your Monitor
Sometimes the honest answer is that your current monitor cannot deliver the dark scene performance you want. If you have optimized every setting, updated all software, tested cables, and still see unacceptable smearing in dark content, the panel’s pixel response speed is the bottleneck.
Before buying a new display, read detailed reviews from sites that measure response times across the full gray scale, not just the manufacturer’s best case number. Look for response time heatmaps that show how long dark to mid gray transitions take. A monitor with excellent average GtG but terrible dark transitions will still smear in shadows.
If dark scene clarity is your top priority, OLED monitors offer the best performance by a wide margin. Prices have dropped significantly as more models enter the market. For those who prefer LCD, look for fast VA panels from manufacturers known for strong overdrive tuning, or choose a high refresh rate IPS panel that sacrifices some contrast depth for better motion performance.
Consider your primary use case. Competitive gamers benefit most from fast IPS or OLED. Movie watchers and casual gamers who love deep blacks may prefer VA with good overdrive tuning. Creative professionals who need color accuracy and fast response should look at OLED or high end IPS displays.
Quick Troubleshooting Checklist
When dark scene ghosting appears, work through these steps in order. Start with the fastest and easiest fixes before moving to deeper changes.
First, confirm the issue is motion ghosting and not signal ghosting or image retention. Run the Blur Busters UFO test on a dark background. Check whether the artifact follows only moving objects or appears on static content too.
Second, check your refresh rate setting. Open your operating system’s display settings and confirm your monitor runs at its highest supported refresh rate. This single step fixes the problem for a surprising number of users.
Third, adjust overdrive. Start at the middle setting and test. Move up if trails remain. Move down if bright halos appear. Never leave overdrive on the maximum setting without testing.
Fourth, try Black Equalizer or gamma adjustment. Lift the darkest tones slightly to reduce the distance pixels must travel during dark transitions.
Fifth, inspect cables and connections. Swap in a known good cable. Remove adapters if possible. Move nearby electronic devices away from the signal path.
Sixth, update GPU drivers and monitor firmware. Check manufacturer websites for the latest versions. Restart after installing updates.
Seventh, disable in game motion blur, film grain, and aggressive sharpening. These settings can amplify or mimic ghosting artifacts.
Frequently Asked Questions
Does monitor ghosting cause permanent damage to the display?
No. Monitor ghosting is a temporary visual artifact caused by slow pixel response times. It does not cause any lasting harm to your screen. Unlike burn in, which permanently alters pixel behavior, ghosting only appears during motion and disappears the moment the image stops moving. Your monitor is safe even if ghosting is severe.
Why does ghosting only appear in dark scenes and not bright ones?
Dark to mid gray pixel transitions are physically slower on LCD panels because the liquid crystals require small, precise voltage changes that move them sluggishly through low brightness states. Bright transitions involve larger voltage swings that push the crystals faster. Your eye also detects small brightness errors more easily against a dark background, which makes the trails more noticeable in dim content.
Can a better HDMI or DisplayPort cable fix ghosting?
A better cable can fix ghosting if the current cable is damaged, poorly shielded, or not rated for your resolution and refresh rate. Signal degradation from a bad cable can produce artifacts that look similar to pixel response ghosting. However, if the issue is genuinely slow pixel response, a new cable will not help. Test with a replacement cable to determine which type of problem you have.
Is OLED the only way to completely eliminate dark scene ghosting?
OLED is the most effective solution because its pixels switch states almost instantly. However, you can reduce dark scene ghosting to very low levels on fast IPS panels and well tuned VA panels by using proper overdrive settings, Black Equalizer adjustments, and high refresh rates. Some users find these adjustments bring ghosting down to a level that is no longer noticeable during normal use.
Does lowering the refresh rate help or hurt ghosting?
Lowering the refresh rate gives pixels more time to complete each transition, which can reduce dark smearing on some monitors. However, a lower refresh rate also makes the overall motion look less smooth, and each frame is held longer, which can make other types of motion blur more visible. Try lowering from 144Hz to 120Hz as a test to see if smearing improves without sacrificing too much smoothness.
Should I use motion blur reduction and adaptive sync at the same time?
Most monitors do not allow both features simultaneously. Motion blur reduction uses backlight strobing that requires a fixed refresh rate, while adaptive sync dynamically changes the refresh rate to match your frame rate. Some newer displays with technologies like NVIDIA G Sync Pulsar combine both functions, but these are still limited to specific high end models. Check your monitor’s specifications to see what it supports.
Hi, I’m Amy! I’m passionate about tech and love breaking down complex product specs into simple, actionable advice. I review gadgets, compare tools, and write buying guides to help you spend smarter. Got a question? Drop me a message — I’d love to hear from you!