What To Do When GitHub Copilot Fails To Authenticate?
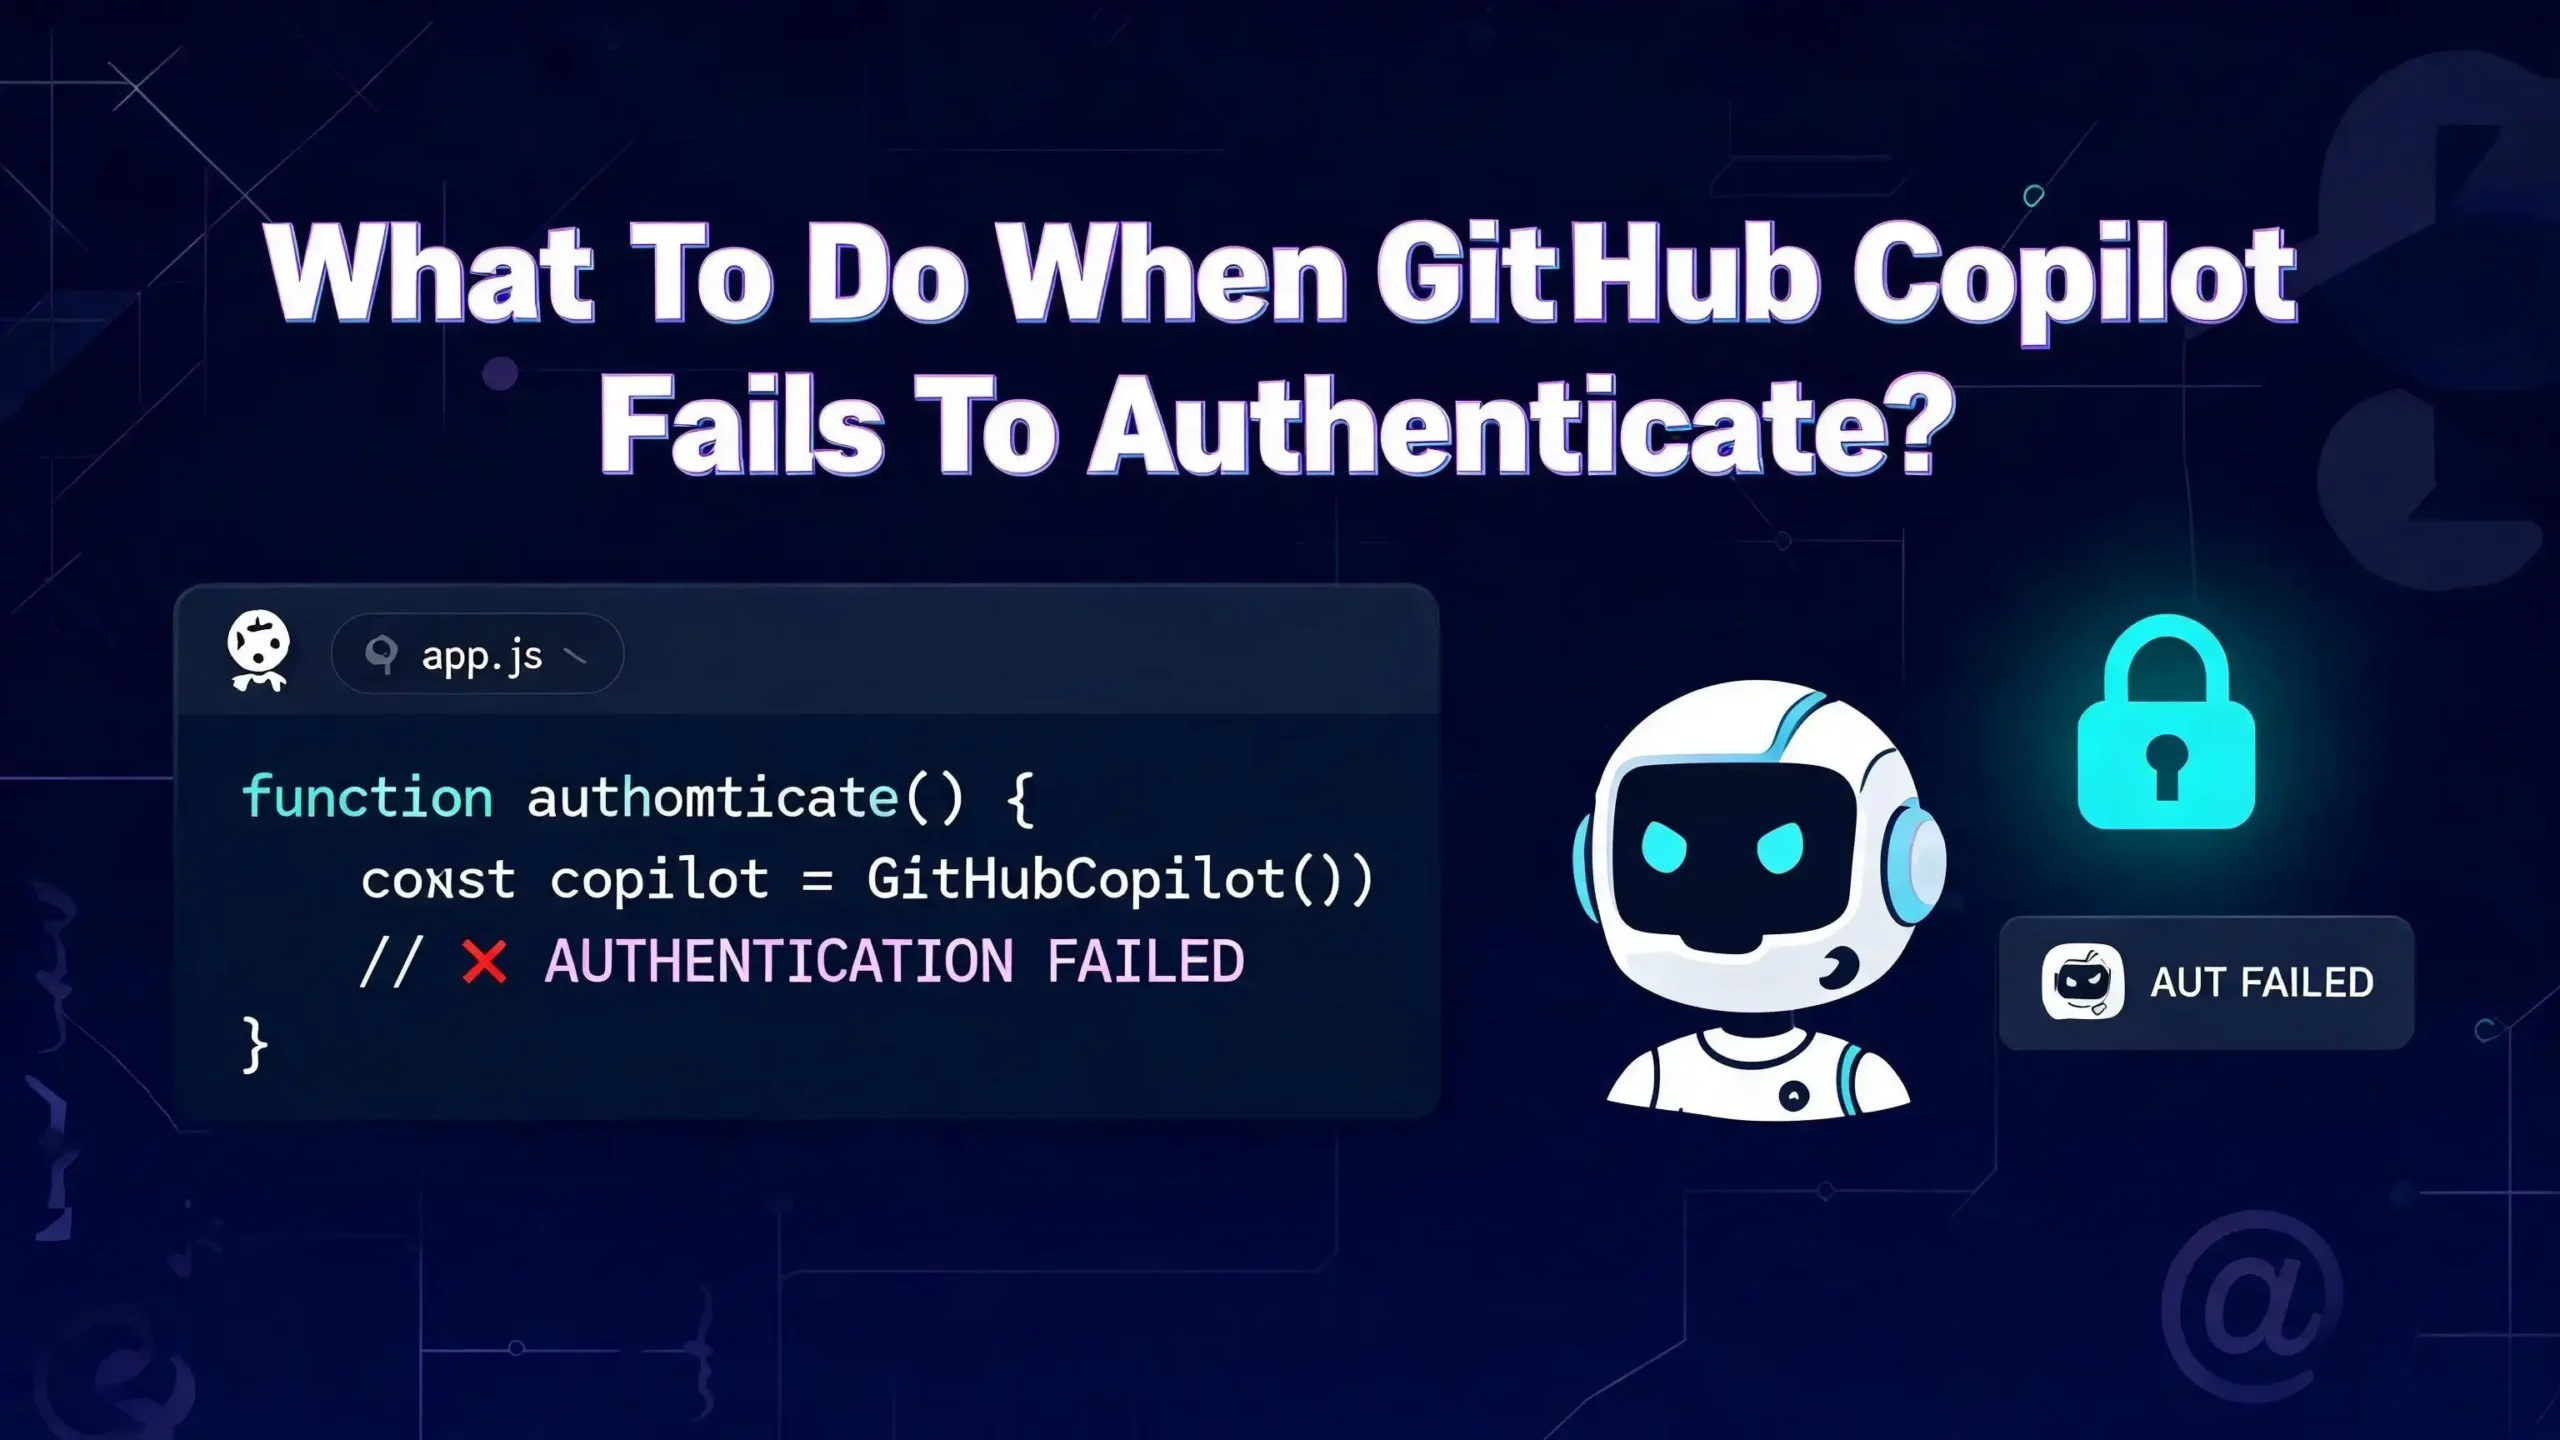
You just fired up your IDE, ready to code, and GitHub Copilot refuses to sign in. The icon shows a warning. The logs say “Invalid copilot token: missing token: 403.” You click the sign in button again and again, but nothing happens. Sound familiar?
GitHub Copilot authentication failures are one of the most common and frustrating issues developers face. The problem can show up as a sign in loop, a 403 error, a “failed to get copilot token” message, or a simple timeout. It can strike in VS Code, Visual Studio, JetBrains IDEs, and even remote development environments like WSL and DevContainers.
The good news is that almost every Copilot authentication error has a clear fix. The bad news is that there are many possible causes, and the right solution depends on your specific setup. A wrong VS Code setting, a stale cached token, a corporate firewall, an expired subscription, or even a mismatched GitHub account can all trigger authentication failures.
This guide walks you through every known cause and its matching fix. Whether you are a solo developer on a personal plan or part of a team using Copilot Business behind a corporate proxy, you will find the answer here. Each section gives you clear, actionable steps you can follow right now. Let’s get your Copilot back online.
In a Nutshell
- Check your subscription status first. Visit github.com/settings/copilot to confirm your Copilot plan is active. An expired or missing subscription is the simplest cause of authentication failure, and fixing it takes seconds.
- Remove the “github-enterprise” auth provider setting. A stray
"authProvider": "github-enterprise"line in your VS Code settings.json is one of the most common causes of sign in failures. Delete it, save the file, and reload VS Code. - Sign out completely, then sign back in. Use the Accounts icon in VS Code or the account menu in your JetBrains IDE to fully sign out of GitHub. Then reload your editor and go through the sign in flow again. This clears stale tokens and session data.
- Clear cached credentials and extension data. Old tokens stored in your operating system’s credential manager or in VS Code’s globalStorage folder can block new authentication. Remove them manually to force a fresh connection.
- Verify your network can reach GitHub’s servers. Corporate firewalls, VPNs, and proxy servers can block the endpoints Copilot needs. Run a quick
curltest againstcopilot-proxy.githubusercontent.comto confirm your connection works. - Keep your IDE and Copilot extension up to date. Older versions of the Copilot extension cannot communicate with GitHub’s servers. A simple update often solves the problem with no other changes needed.
Confirm Your GitHub Copilot Subscription Is Active
The first thing to check is the most obvious one. Does your GitHub account actually have an active Copilot subscription? Many authentication errors happen because the subscription has lapsed, was never activated, or is linked to a different account.
Go to github.com/settings/copilot in your browser. Log in with the same GitHub account you use in your IDE. If you see an active plan listed, your subscription is fine. If you see a prompt to subscribe or renew, that is your problem.
Developers who use Copilot Business or Copilot Enterprise should also confirm that their organization admin has assigned them a Copilot seat. Your personal GitHub account might be valid, but if no seat is assigned to it through the organization, Copilot will refuse to authenticate.
If you recently changed your GitHub username or email, that can also cause a mismatch. Your IDE may be trying to authenticate with old credentials that no longer match an active subscription. Double check that the account shown in your IDE’s account menu matches the account with the subscription.
Remove the GitHub Enterprise Auth Provider Setting
This single misconfiguration is responsible for a huge number of Copilot sign in failures, especially in VS Code. A setting called "authProvider": "github-enterprise" can appear in your settings.json file. It redirects the authentication flow to a GitHub Enterprise server instead of github.com.
Unless you are actually using GitHub Enterprise, this setting will break your authentication completely. Here is how to fix it.
Open the Command Palette in VS Code with Ctrl+Shift+P (or Cmd+Shift+P on Mac). Type “Preferences: Open User Settings (JSON)” and press Enter. Look for a block that looks like this:
"github.copilot.advanced": {
    "authProvider": "github-enterprise"
}
Delete that entire block. Save the file. Then reload VS Code using the Command Palette command “Developer: Reload Window.” Try signing in to Copilot again.
This setting sometimes gets added by accident. Users click around in the Copilot settings while trying to fix a different problem and unknowingly insert it. If you switch to a clean VS Code profile and Copilot works, this setting is almost certainly the cause.
Sign Out and Sign Back In to GitHub
A full sign out and sign in cycle is one of the most effective fixes for Copilot authentication issues. Stale sessions, expired OAuth tokens, and corrupted session cookies can all prevent a successful connection.
In VS Code, click the Accounts icon in the bottom left corner of the window. Hover over your GitHub username and click Sign Out. Then open the Command Palette and run “Developer: Reload Window.” After the window reloads, Copilot will prompt you to sign in again. Follow the browser based flow to complete the authentication.
In Visual Studio, go to File > Account Settings. Remove your GitHub account and restart Visual Studio. Add your GitHub account back through the same menu.
In JetBrains IDEs (IntelliJ, PyCharm, WebStorm, etc.), go to Settings > Version Control > GitHub. Remove your current login. Click the + button to add it back using your preferred authentication method.
After signing back in, give it a minute. The token request to GitHub’s API can take a few seconds. If your IDE still shows an error after signing back in, move on to the next steps in this guide.
Clear Cached Tokens and Credential Data
Sometimes signing out through the IDE interface is not enough. Old authentication tokens can persist in your operating system’s credential store or in VS Code’s internal storage folders.
On Windows, open Credential Manager from the Control Panel. Go to “Windows Credentials” and look for entries related to github.com or VS Code. Delete them. This forces a completely fresh authentication the next time you sign in.
On macOS, open Keychain Access and search for “github” or “vscode.” Remove any matching entries.
On Linux, credentials may be stored in GNOME Keyring or KDE Wallet depending on your desktop environment. Clear any GitHub related entries from your keyring.
You can also delete VS Code’s globalStorage folder for the Copilot extension. This folder holds cached token data and session information. The typical path is inside your VS Code user data directory under globalStorage/github.copilot and globalStorage/github.copilot-chat. Back up these folders first, then delete them and restart VS Code.
This approach is more aggressive but effective. It removes all traces of old sessions and gives Copilot a clean slate to work with.
Revoke and Reauthorize the Copilot OAuth App
GitHub Copilot uses an OAuth application to connect your IDE to your GitHub account. If this authorization becomes corrupted or outdated, authentication will fail even though you are logged in.
Go to github.com/settings/applications in your browser. Find the entry labeled “GitHub Copilot” or “GitHub for VS Code” in the list of authorized applications. Click on it and select Revoke access. You may also see entries for “Visual Studio” if you use that IDE. Revoke those too.
Now go back to your IDE and sign in to Copilot again. The browser will open and ask you to authorize the application from scratch. Accept the permissions and complete the flow.
This is different from just signing out and signing in. Revoking the OAuth app removes the authorization at the GitHub level, not just the local session. It is a deeper reset and often fixes issues that a simple sign out cannot.
Pro tip: If you have multiple GitHub accounts, make sure you are logged into the correct one in your browser before completing the authorization. The OAuth flow will link Copilot to whichever account is active in your browser at that moment.
Update Your IDE and Copilot Extension
GitHub’s servers are updated regularly. Older versions of the Copilot extension may lose the ability to communicate with current server endpoints. This means an extension that worked perfectly last month might fail today.
In VS Code, go to the Extensions panel (Ctrl+Shift+X). Search for “GitHub Copilot” and “GitHub Copilot Chat.” If updates are available, install them. Also check that VS Code itself is on the latest stable version by going to Help > Check for Updates.
Copilot Chat requires a specific minimum version of VS Code. If you are running an older VS Code release, Copilot Chat will not work regardless of your authentication status. The same applies to the Copilot extension in JetBrains IDEs and Visual Studio.
In JetBrains IDEs, go to Settings > Plugins and update the GitHub Copilot plugin. In Visual Studio, updates are delivered through the Visual Studio Installer or built in update mechanism.
After updating, restart your IDE completely. A reload is not always enough. Close all windows and open a fresh session. Then sign in again and test Copilot.
Check Your Network Connection and Firewall Rules
GitHub Copilot needs to reach specific servers on the internet. If a firewall, VPN, or DNS filter blocks these connections, authentication will fail. You may also see errors like “ETIMEDOUT” or “ECONNRESET.”
Open a terminal and run this command:
curl --verbose https://copilot-proxy.githubusercontent.com/_ping
You should get an HTTP 200 response. If you get a timeout or connection refused error, something on your network is blocking the request.
For Copilot Chat specifically, also test this endpoint:
curl --verbose https://api.githubcopilot.com/_ping
If you work behind a corporate proxy, make sure the proxy allows traffic to these domains: github.com, api.github.com, copilot-proxy.githubusercontent.com, and api.githubcopilot.com. Share this list with your IT department if needed.
If you use a VPN, try disconnecting it temporarily to see if Copilot connects. Some VPN configurations route all traffic through servers that block GitHub’s endpoints.
Configure Proxy Settings Correctly
If you work behind a proxy server, GitHub Copilot needs to know about it. The extension uses its own connection logic, so a proxy that works for your browser or other tools might not work for Copilot automatically.
In VS Code, open Settings (Ctrl+,) and search for “proxy.” Set the Http: Proxy field to your proxy URL. The format should be http://proxy-address:port. Note that HTTPS proxy URLs are not currently supported by Copilot. If your proxy URL starts with https://, you will need to work with your IT team to find an alternative.
If your proxy requires authentication, Copilot supports basic authentication and Kerberos authentication. For basic auth, include the credentials in the proxy URL like http://username:password@proxy-address:port. For Kerberos, make sure you have a valid ticket and the correct service principal name.
Corporate proxies that use SSL inspection can also cause problems. These proxies replace server certificates with their own, and Copilot may reject the custom certificates. You can install the proxy’s root certificate into your operating system’s trust store to fix this. As a last resort, you can disable Proxy Strict SSL in VS Code settings, but this reduces security and is not recommended for production environments.
Fix Authentication Issues in Remote Development Environments
Developers using WSL (Windows Subsystem for Linux), SSH Remote, or DevContainers in VS Code often face unique authentication problems. The sign in button may not respond, or the browser redirect may fail to complete.
The core issue is that the OAuth callback URL uses 127.0.0.1, which does not always resolve correctly inside a remote environment. DNS resolution in WSL can be misconfigured, preventing the callback from reaching VS Code.
Try these fixes for remote environments:
First, make sure port forwarding is working. VS Code Remote extensions forward ports from the remote machine to localhost. If this is broken, the OAuth callback cannot complete.
Second, try signing in before connecting to the remote environment. Open a local VS Code window, sign in to Copilot, and confirm it works. Then connect to your remote host. The authentication should carry over.
Third, check your WSL DNS settings. Open /etc/resolv.conf inside WSL and make sure it points to a working DNS server. Some WSL configurations generate a broken resolv.conf file that prevents outbound connections.
If none of these steps work, consider using a Personal Access Token (PAT) for authentication instead of the browser based OAuth flow.
Handle the “Invalid Copilot Token: Missing Token 403” Error
The 403 error with “missing token” is one of the most reported Copilot authentication problems. It means the Copilot extension tried to request an authentication token from GitHub’s API and failed.
This error can mean several things. Your subscription may be inactive. Your cached token may have expired. Your network may be blocking the API request. Or there may be a temporary issue on GitHub’s side.
Start by visiting githubstatus.com to check if there is an active incident affecting Copilot. If the service is down, all you can do is wait.
If the service is healthy, follow this sequence. Sign out of GitHub in your IDE. Clear your credential store as described in the earlier section. Revoke the Copilot OAuth app at github.com/settings/applications. Restart your IDE. Then sign in again.
If you see this error specifically in Copilot Chat while regular Copilot suggestions still work, try starting a new chat thread. Close all existing chat windows and open a fresh one. The “IDE token expired” variant of this error is common in Visual Studio and is often fixed by closing all Visual Studio instances and restarting.
Resolve Authentication Problems in Visual Studio
Visual Studio (not VS Code) has its own set of authentication quirks for GitHub Copilot. The integration is tighter, which can actually make troubleshooting harder.
If you see an authentication or token error in Visual Studio, start by selecting “Refresh Your GitHub Credentials” from the Copilot status menu. This tells Visual Studio to request a new token without going through a full sign out.
If that does not work, go to File > Account Settings and remove your GitHub account. Also open the Windows Credential Manager and remove any entries related to github.com or visualstudio. Then restart Visual Studio and add your GitHub account back.
Visual Studio sometimes fails the OAuth flow with a “timed out” error even though the browser shows a successful authorization. This happens when the callback cannot reach Visual Studio. Make sure no other application is using the port that Visual Studio needs for the callback. Antivirus software and local firewalls can also block this connection.
If you are using Visual Studio behind a corporate proxy, check the proxy settings under Tools > Options > Environment > Network. Also see the proxy configuration guidance in the earlier section of this guide. Visual Studio currently does not support basic authentication for proxies in all Copilot scenarios, so you may need to work with your IT team on this.
Enable the Built In GitHub Authentication Extension
VS Code includes a built in extension called “GitHub Authentication” that handles the sign in process for GitHub related features. If this extension is disabled, Copilot cannot authenticate at all.
Open the Extensions panel in VS Code (Ctrl+Shift+X). Search for “@builtin github authentication”. This filter shows built in extensions that ship with VS Code. Make sure the “GitHub Authentication” extension is enabled. If it shows “Disabled,” click the Enable button.
Also check for a second built in extension called “GitHub.” While this handles repository features rather than authentication directly, disabling it can sometimes cause unexpected behavior.
After enabling these extensions, restart VS Code and try signing in again. If you recently reset VS Code or created a new profile, these extensions may have been accidentally turned off.
Check GitHub Copilot Logs for Specific Error Messages
When nothing else helps, your IDE’s logs will tell you exactly what is going wrong. Copilot writes detailed logs that include token requests, server responses, and error codes.
In VS Code, open the Output panel (Ctrl+Shift+U). Use the dropdown menu at the top right of the panel to select “GitHub Copilot” or “GitHub Copilot Chat.” Look for lines that contain “error,” “403,” “token,” or “timeout.” The log entries will point you to the specific failure point.
You can also enable debug level logging for more detail. Open Settings, search for “copilot log,” and set the log level to “debug.” Reproduce the error, then check the Output panel again. The debug logs show the full request and response data for each API call.
In JetBrains IDEs, go to Help > Show Log in Explorer/Finder to find the IDE log file. Search for “copilot” in the file to find relevant entries.
If you need to contact GitHub Support, include these logs in your support request. They give the support team the information they need to diagnose your issue quickly.
Contact GitHub Support as a Last Resort
If you have tried every step in this guide and Copilot still refuses to authenticate, it is time to reach out to GitHub Support. Some issues are account specific or server side, and only GitHub’s team can resolve them.
Go to support.github.com and create a new support ticket. Include the following information in your request: your GitHub username, the IDE and version you are using, the Copilot extension version, the error messages from your logs, and the troubleshooting steps you have already tried.
If you are on a Copilot Business or Enterprise plan, your organization admin may need to contact support on your behalf. Some account level issues require admin permissions to investigate.
You can also search the GitHub Community Discussions forum at github.com/orgs/community/discussions. Many Copilot authentication issues have been reported and solved there by other developers and GitHub staff. Searching for your specific error message often leads to a working solution.
Frequently Asked Questions
Why does GitHub Copilot keep asking me to sign in?
This usually happens because your authentication token has expired or been cleared. It can also occur if your settings.json file contains the "authProvider": "github-enterprise" setting by mistake. Remove that setting, sign out completely, clear your cached credentials, and sign back in. This should stop the repeated sign in prompts.
How do I fix the GitHub Copilot 403 error?
The 403 error means Copilot could not get a valid token from GitHub’s servers. Confirm that your Copilot subscription is active at github.com/settings/copilot. Then sign out of your IDE, clear your credential store, revoke the Copilot OAuth app at github.com/settings/applications, and sign back in. Also check githubstatus.com for any ongoing service issues.
Can a firewall block GitHub Copilot authentication?
Yes. GitHub Copilot needs to reach several servers including github.com, api.github.com, copilot-proxy.githubusercontent.com, and api.githubcopilot.com. If a firewall or proxy blocks any of these endpoints, authentication and code suggestions will fail. Ask your IT team to allow traffic to these domains.
Does GitHub Copilot work behind a corporate proxy?
It can, but you need to configure it correctly. Set the proxy URL in your IDE settings. Make sure the URL uses http:// and not https:// because Copilot does not support HTTPS proxy URLs. If the proxy uses SSL inspection, install the proxy’s root certificate in your operating system trust store.
Why does Copilot authentication fail in WSL or DevContainers?
Remote environments can break the OAuth callback that completes the sign in flow. The callback uses 127.0.0.1, which may not resolve correctly in WSL or containers. Try signing in to Copilot in a local VS Code window before connecting to the remote environment. Also check your DNS settings in WSL and make sure port forwarding is working.
How do I reset GitHub Copilot authentication completely?
For a full reset, follow these steps in order: sign out of GitHub in your IDE, clear entries from your operating system’s credential manager (Credential Manager on Windows, Keychain Access on macOS), delete the globalStorage/github.copilot folder inside your VS Code user data directory, revoke the Copilot app at github.com/settings/applications, restart your IDE, and sign in again from scratch.
Hi, I’m Amy! I’m passionate about tech and love breaking down complex product specs into simple, actionable advice. I review gadgets, compare tools, and write buying guides to help you spend smarter. Got a question? Drop me a message — I’d love to hear from you!