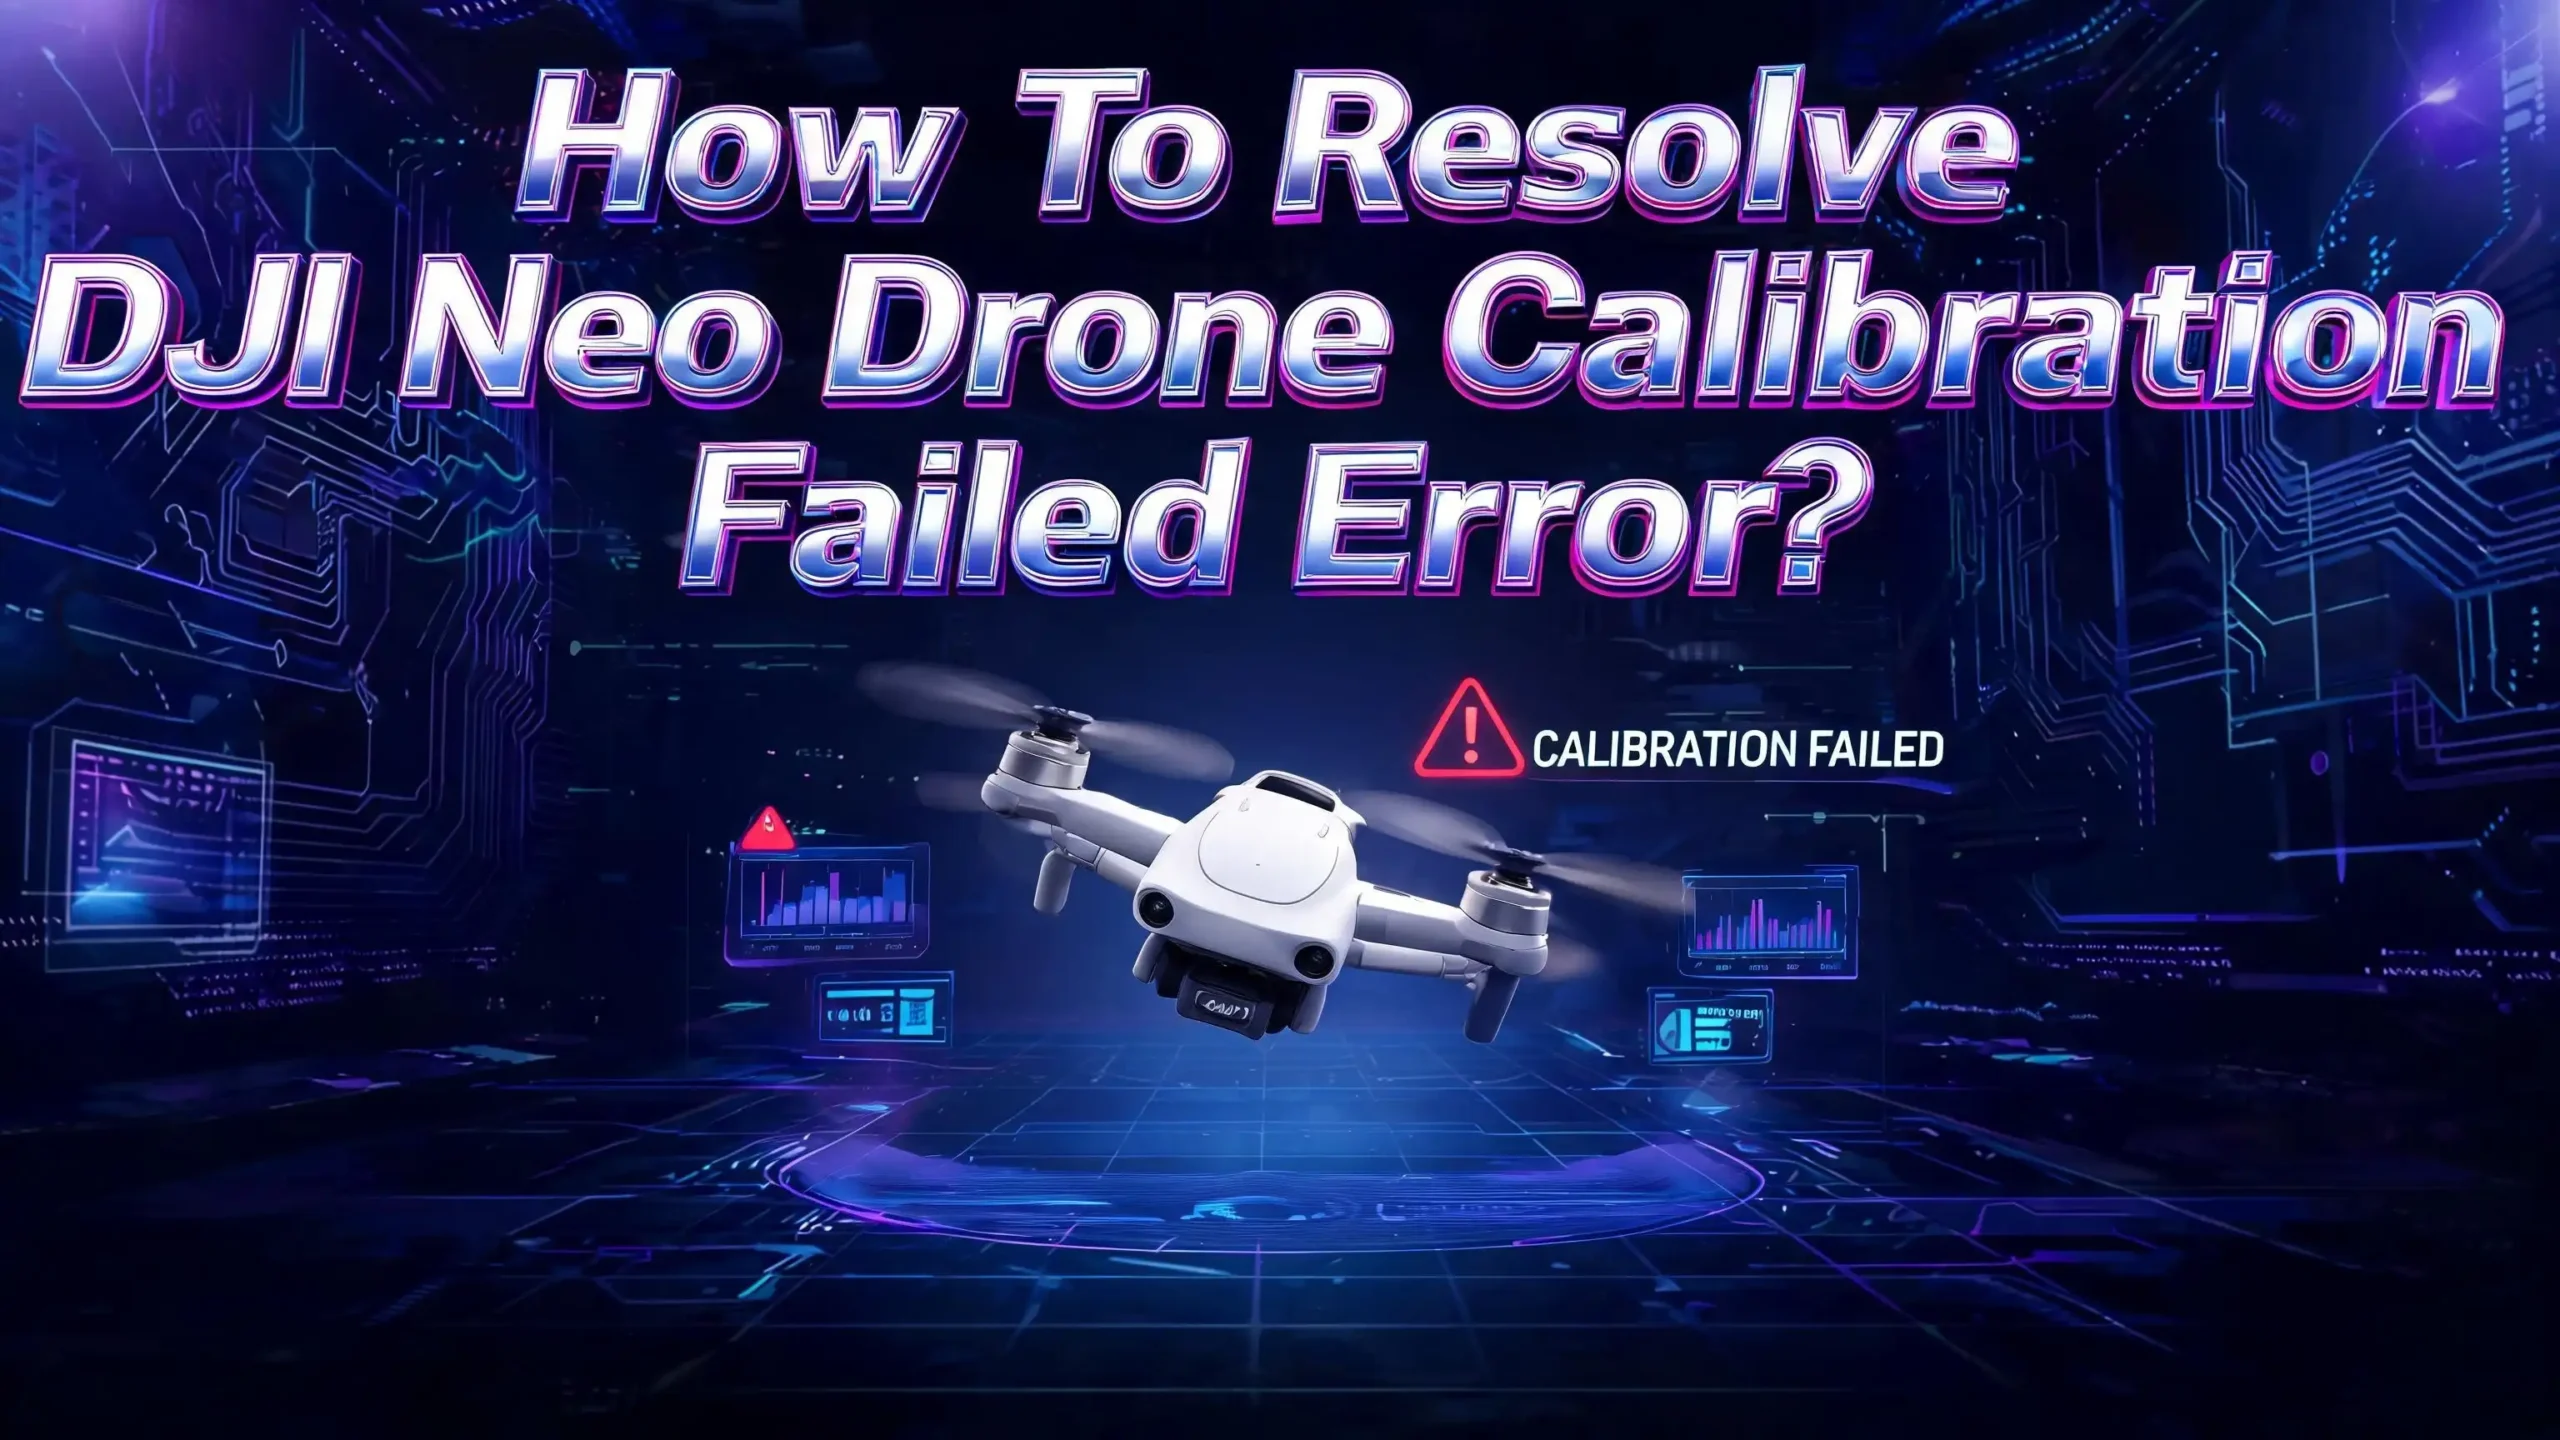
How To Resolve DJI Neo Drone Calibration Failed Error?
You just powered on your DJI Neo, ready for a smooth flight, and then it hits you: “Calibration Failed.” The drone sits there, grounded, and your excitement turns into frustration. You are not alone.
Thousands of DJI Neo owners have faced this exact error, whether it involves the IMU, compass, gimbal, or vision sensors. The good news? Most calibration failures on the DJI Neo are fixable at home without sending the drone back to DJI.
This error can show up during your first setup, after a firmware update, or even after a minor bump during flight. It stops the drone from taking off and can make features like gesture control, obstacle avoidance, and GPS tracking completely unusable. If you ignore the error, you risk unstable flights, drifting, and potential crashes.
In this guide, you will find clear, actionable solutions for every type of calibration failure on the DJI Neo. Each fix is tested by real users and supported by official DJI instructions. Whether you are a beginner who just unboxed the drone or an experienced pilot dealing with a recurring error, this post will walk you through every step to get your DJI Neo back in the air.
In a Nutshell
- IMU calibration failures are the most common issue on the DJI Neo. They usually happen because the drone was moved during calibration or placed on an uneven surface. A perfectly flat, vibration free surface solves this problem in most cases.
- Compass calibration errors are almost always caused by magnetic interference. Metal objects, electronic equipment, parking garages, and buildings with steel reinforcement will cause the compass to fail. Move to an open outdoor area far from metal structures before you attempt calibration.
- Firmware plays a critical role in calibration success. Outdated firmware causes glitches in the calibration process. Always update your DJI Neo to the latest firmware through the DJI Fly app before you start any calibration.
- Battery level matters more than you think. DJI requires at least 50% battery charge for calibration. A low battery can cause the process to freeze or fail midway, especially during IMU calibration.
- A factory reset through the DJI Fly app can clear persistent calibration errors. Go to Settings, then More Settings, then About, and tap “Clear All Data.” This has resolved stubborn errors for many users.
- If all else fails, contact DJI Support. Some calibration failures point to hardware damage, especially after crashes or drops. DJI offers repair services, and DJI Care coverage makes replacements affordable.
What Does the DJI Neo Calibration Failed Error Mean
The calibration failed error on the DJI Neo means the drone’s internal sensors could not complete their alignment process. The DJI Neo uses multiple sensors to fly safely. These include the IMU (Inertial Measurement Unit), the compass, the gimbal, and the vision sensors. Each sensor needs accurate calibration data to function correctly.
When you see this error, the drone is telling you that one or more sensors did not pass the calibration check. The IMU measures acceleration and rotation. If its data is off, the drone cannot hold a stable hover. The compass determines direction and heading. A failed compass calibration means the drone cannot orient itself or follow GPS waypoints.
The DJI Fly app usually displays a specific message that tells you which sensor failed. You might see “IMU Calibration Failed,” “Compass Error,” or “Vision System Calibration Error” followed by an error code. Each error type has a different cause and a different fix.
This error is not always a sign of hardware damage. In most cases, environmental factors, incorrect procedures, or software glitches cause the failure. Understanding which sensor triggered the error is the first step to fixing it. Check the DJI Fly app carefully and note the exact error message before you begin troubleshooting.
Common Causes of Calibration Failure on DJI Neo
Several factors can cause calibration to fail on the DJI Neo. Knowing the root cause saves you time and prevents repeated failures. Here are the most frequent reasons users encounter this error.
Magnetic interference is the number one cause of compass calibration failure. Metal fences, cars, electronic devices, rebar in concrete floors, and even belt buckles can disrupt the compass sensor. Many users try to calibrate indoors near computers or appliances and wonder why it keeps failing.
An uneven or unstable surface causes IMU calibration to fail. The IMU needs the drone to remain perfectly still during the process. Even a slight vibration from a wooden table or a surface that tilts by a few degrees can throw off the readings. Users on Reddit have reported that holding the drone by hand during calibration caused the process to freeze at 95%.
Low battery charge is another common culprit. DJI requires a minimum of 50% battery for calibration. If the battery drops below this threshold during the process, the calibration will abort. Cold batteries that report inaccurate charge levels also cause problems.
Outdated firmware can create bugs in the calibration routine. After major firmware updates, DJI sometimes changes calibration procedures or sensor parameters. Running old firmware means the app and the drone may not communicate properly during the process. Always check for firmware updates before you start.
Physical damage from crashes or drops can permanently misalign sensors. If your DJI Neo took a hard landing or fell from your hand, the IMU or gimbal may have shifted. Sand, dust, or moisture in the sensor areas will also cause failures.
How To Perform IMU Calibration on DJI Neo Correctly
The IMU calibration is the most common calibration you will need to perform on the DJI Neo. Follow these steps precisely to avoid failure.
Step 1: Charge your DJI Neo battery to at least 50%. A full charge is even better. Cold batteries should be warmed to room temperature before you begin.
Step 2: Find a perfectly flat, level surface. A granite countertop, a glass table, or a level tile floor works well. Avoid wooden tables that may flex or vibrate. The surface must be completely still during the entire process.
Step 3: Open the DJI Fly app on your phone. Connect your phone to the DJI Neo via Bluetooth. Enter the flight interface and tap the three dots menu icon. Go to Safety, then Sensor, then IMU, and tap Calibration.
Step 4: The app will show you specific orientations for the drone. You need to place the drone in each position as shown on screen. Do not hold the drone in your hands. Any movement from your body will register as vibration. Instead, prop the drone against a wall or use a flat box to support it in the required orientation.
Step 5: Wait patiently for each step to reach 100%. The process may pause at certain percentages, especially around 95%. Do not touch or move the drone. Let it sit until the app confirms completion.
If the calibration gets stuck, remove the battery. Let the drone cool down for five minutes. Reinsert the battery and start the calibration again from the beginning. This simple reset has fixed the issue for many users.
How To Fix Compass Calibration Failed Error
Compass calibration failures on the DJI Neo are almost always environmental. The compass sensor is extremely sensitive to magnetic fields. Here is how to fix this error reliably.
Move to a wide open outdoor area. Stay at least 30 feet away from cars, metal fences, power lines, and buildings with steel frames. A grass field, a park, or an open beach is ideal. Do not attempt compass calibration in a parking garage, on a balcony near metal railings, or inside your home.
Remove any metal accessories from your body. Watches, rings, belt buckles, phones in metal cases, and keys can all interfere with the compass sensor. Set them down at least 10 feet away from the drone.
Open the DJI Fly app and go to Safety, then Sensor, then Compass, and tap Calibration. The app will instruct you to rotate the drone horizontally first, then vertically. Follow the on screen animation exactly as shown.
Rotate the drone smoothly and steadily. Do not spin it fast. A slow, controlled 360 degree rotation in each direction gives the compass sensor time to read the magnetic field properly. Jerky or fast movements can cause the calibration to fail.
If the compass calibration fails on the first attempt, do not keep retrying in the same spot. Move to a completely different location at least 50 feet away. The ground beneath your original position may contain buried metal pipes or wiring that you cannot see. Changing your location solves this problem in most cases.
Fixing IMU Calibration Stuck at 95 Percent
Many DJI Neo owners report that the IMU calibration freezes at 95% and refuses to progress. This is one of the most frustrating calibration issues, but it has a straightforward solution.
The 95% freeze happens because the drone detects micro movements during the final calibration step. At this stage, the IMU is taking its most sensitive readings. Even the vibration from an air conditioner, a washing machine running in another room, or traffic outside can cause enough movement to stall the process.
The fix is to prop the drone against a wall instead of placing it flat on a table. When the app shows the orientation that requires the drone to be on its side or nose, lean it firmly against a solid wall. The wall provides perfect stability that your hands cannot match. Several users on the DJI Neo subreddit confirmed this trick resolved their 95% freeze immediately.
If the wall method does not work, remove the battery and let the drone sit unpowered for five to ten minutes. Heat buildup during calibration can affect sensor readings. After cooling down, reinsert the battery and start the calibration fresh. Do not resume from where it stopped. Start the entire process over.
Make sure your phone screen does not turn off during calibration. Some phones will enter sleep mode during the wait, which can interrupt the Bluetooth connection. Adjust your phone’s screen timeout to at least 10 minutes before you begin calibration.
How To Resolve Vision Sensor Calibration Error
The DJI Neo uses downward facing vision sensors for positioning, obstacle detection, and gesture recognition. A vision sensor calibration error can disable hand gesture controls, obstacle avoidance, and stable hovering.
Start by cleaning the vision sensors. Use a soft microfiber cloth to gently wipe the sensor lenses on the bottom and front of the drone. Dust, fingerprints, sand, and moisture on the lens surface can cause the system to report a calibration error. Even a small smudge can block the sensor’s ability to read its environment.
If cleaning does not resolve the error, check for a specific error code in the DJI Fly app. The code “1a011340” has appeared for several DJI Neo users and typically relates to a vision system alignment issue. One confirmed fix is to open the DJI Fly app, go to Settings, then More Settings, then About, and tap “Clear All Data.” This resets the app’s stored sensor data and forces the drone to recalibrate from scratch.
Firmware updates are essential for vision sensor fixes. DJI has released firmware patches that address specific vision sensor errors. Connect your DJI Neo to the DJI Fly app and check for updates under the firmware section. Install any available updates before attempting calibration again.
If the vision sensor error appeared after a drop or crash, the sensor module may have shifted internally. In this case, contact DJI Support and submit a repair request. Vision sensor hardware repairs require professional tools and are not something you can fix at home.
Why Firmware Updates Are Critical Before Calibration
Running outdated firmware on your DJI Neo is one of the most overlooked causes of calibration failure. DJI frequently releases firmware updates that change how sensors communicate with the flight controller. If your firmware is old, the calibration routine may use outdated parameters that conflict with the current app version.
Always update firmware before you attempt any calibration. Open the DJI Fly app, connect to your DJI Neo, and check the firmware status. The app will display a notification if an update is available. Make sure your drone battery is above 50% and your phone has a stable Wi Fi connection before you begin the update.
Update each battery separately. If you own the Fly More Combo with multiple batteries, each battery contains its own firmware. Insert each battery into the drone one at a time and run the update. Users have reported calibration issues caused by firmware mismatches between batteries.
Do not power off the drone during a firmware update. Interrupting the process can corrupt the flight controller software, which will cause more serious errors than a simple calibration failure. Keep the drone on a stable surface and wait until the app confirms the update is complete.
After the firmware update finishes, restart the drone and the app. Then attempt calibration. In many cases, a fresh firmware installation resolves calibration errors without any additional steps. The updated software resets sensor baselines and corrects known bugs from previous versions.
How a Factory Reset Can Fix Persistent Calibration Errors
When standard calibration procedures fail repeatedly, a factory reset often clears the problem. The DJI Neo stores sensor data, calibration history, and flight settings in its internal memory. Corrupted data in these files can cause calibration to fail every time you try.
To reset your DJI Neo through the DJI Fly app, connect the drone and open Settings. Navigate to More Settings, then About. You will see a “Clear All Data” button. Tap it to erase all stored data and return the drone to its default settings. This process does not delete firmware but removes all user preferences, calibration records, and cached sensor data.
After the reset, your drone will behave as if you just took it out of the box. You will need to reconfigure your flight settings, reconnect your controller, and perform fresh calibrations for the IMU and compass. This clean start eliminates any corrupted data that was causing the calibration to fail.
Some users have also performed a hardware reset by removing the battery, pressing and holding the power button for 15 seconds with no battery installed, and then reinserting the battery. This drains residual charge from the electronics and can clear sensor lock ups.
If the calibration error returns after a factory reset, the problem is likely hardware related. Repeated failures after a full reset strongly suggest a damaged sensor that needs professional repair. At this point, contact DJI Support and prepare to submit a repair request.
The Role of Your Environment in Calibration Success
Your physical environment has a massive impact on whether calibration succeeds or fails. Many users attempt calibration indoors or in environments that actively interfere with sensors, then blame the drone for the failure.
For compass calibration, electromagnetic interference is the enemy. Concrete buildings with steel rebar, apartments with underfloor heating systems, offices full of electronic equipment, and areas near cell towers all create magnetic fields that confuse the compass sensor. The solution is simple: go outside to a large open field or park with no metal structures nearby.
For IMU calibration, temperature and surface stability matter most. The ideal temperature range is between 20°C and 30°C (68°F to 86°F). Extremely cold or hot environments can cause sensor drift. The surface must be genuinely level. Use a spirit level app on your phone to check the surface before you start.
Lighting conditions affect vision sensor calibration. The DJI Neo’s downward vision sensors need adequate lighting and a textured surface to lock on. Calibrating in a dark room or over a plain white surface can cause vision sensor errors. Move to an area with bright, even lighting and a patterned floor.
Wind can also play a role. If you are performing compass calibration outdoors and strong gusts shake the drone in your hands, the calibration may fail. Choose a calm day or find a sheltered spot that blocks wind while still being free from metal objects.
What To Do After a Crash or Drop
A crash or drop is one of the most common triggers for calibration errors on the DJI Neo. Even a minor fall from hand launch height can shift internal sensors enough to trigger a failure.
Inspect the drone carefully after any impact. Look at the propellers for cracks or bends. Check the gimbal for smooth movement. Examine the body for dents or cracks, especially around the sensor areas on the bottom and front of the drone. Any visible damage to these areas suggests the sensors may be misaligned.
Restart the drone after a crash before attempting calibration. Power the drone off completely, remove the battery, wait 30 seconds, and reinsert the battery. The DJI Neo’s IMU needs a clean restart after sudden impacts. The sensor readings from the crash may still be cached in memory, and a restart clears them.
Attempt IMU calibration first, then compass calibration. If both succeed and the drone flies normally, you are good to go. If the IMU calibration fails repeatedly after a crash, the accelerometer or gyroscope may have physical damage. This is not something you can fix with software alone.
For gimbal issues after a crash, look for error messages like “Gimbal Motor Overload” in the DJI Fly app. Try running a gimbal calibration from the app settings. If the gimbal moves erratically or makes grinding sounds, debris may be trapped in the gimbal mechanism. Gently clean around the gimbal joint with compressed air before calibrating.
When To Contact DJI Support for Calibration Issues
Not every calibration error can be fixed at home. Knowing when to stop troubleshooting and contact DJI Support saves you time and protects your drone from further damage.
Contact DJI Support if calibration fails after you have tried all the steps above. This includes performing calibration on a perfectly flat surface, moving to an interference free outdoor location, updating firmware, doing a factory reset, and restarting the drone multiple times. If the error persists through all of these steps, the sensor hardware is likely damaged.
Specific error codes that point to hardware problems include vision system codes like “1a011340” and repeated IMU errors that freeze at the same percentage every time. These patterns indicate that a physical sensor is faulty, not that your calibration technique is wrong.
DJI offers repair services through their official website. You can submit a repair request at repair.dji.com. They will provide a shipping label, diagnose the issue, and give you a repair quote. If you have DJI Care Refresh, replacements are fast and affordable. For the DJI Neo, DJI Care coverage is relatively inexpensive and covers accidental damage.
Before you ship the drone, document the error. Take screenshots of the error message in the DJI Fly app, note the error code, and describe what you tried. This information helps DJI technicians diagnose the problem faster and reduces the turnaround time for your repair.
Quick Checklist Before Every Calibration Attempt
Use this checklist every time you prepare to calibrate your DJI Neo. Following these steps in order prevents most calibration failures before they happen.
Charge the battery above 50%. A full charge is preferred. If your battery has been in cold storage, warm it to room temperature first. Insert the battery and power on the drone to confirm the charge level in the DJI Fly app.
Update firmware to the latest version. Check for drone firmware and app updates. Install both before calibration. If you own multiple batteries, update each one individually by inserting them into the drone one at a time.
Choose the right surface for IMU calibration. Find a hard, flat, perfectly level surface. Granite countertops, glass tables, and tile floors work best. Avoid wooden tables, carpeted floors, and any surface that moves or vibrates.
Choose the right location for compass calibration. Go outdoors to an open area. Stay far from cars, metal fences, power lines, buildings with steel frames, and electronic devices. Remove metal watches, keys, and jewelry from your person.
Close unnecessary apps on your phone. Background apps can interrupt the Bluetooth connection between your phone and the DJI Neo. Disable phone notifications to prevent pop ups from pausing the calibration process. Set your screen timeout to at least 10 minutes.
Do not rush the process. Let each calibration step finish completely before moving the drone. Stay calm if the progress bar pauses at certain percentages. Touching or moving the drone during calibration is the fastest way to cause a failure.
Frequently Asked Questions
Why does my DJI Neo keep asking for calibration?
The DJI Neo requests calibration when its sensors detect data that does not match stored baselines. This commonly happens after a firmware update, a crash, travel to a new geographic location, or temperature changes. If the drone asks for calibration every time you fly, the sensor may be damaged and need professional repair.
Can I fly the DJI Neo without calibrating it?
The DJI Neo may prevent takeoff if calibration is required. Even if it does allow flight, flying without proper calibration is risky. The drone may drift, lose GPS lock, or behave erratically. Always complete calibration before flying to ensure safe and stable flight performance.
How long does DJI Neo calibration take?
IMU calibration typically takes between 5 and 15 minutes depending on how many orientations are required. Compass calibration takes about 1 to 2 minutes. Vision sensor calibration, when done through software, usually finishes in under 5 minutes. The entire process should not take more than 20 minutes total.
Does temperature affect DJI Neo calibration?
Yes, temperature has a direct impact on sensor accuracy. Extreme cold can cause battery voltage drops and sensor drift. Extreme heat can cause thermal expansion in sensor components. DJI recommends calibrating in temperatures between 20°C and 30°C (68°F to 86°F) for the best results.
What does error code 1a011340 mean on DJI Neo?
This error code relates to the vision system calibration. It indicates that the downward or forward vision sensors are not aligned properly. Cleaning the sensors and performing a “Clear All Data” reset in the DJI Fly app has fixed this error for some users. If the error returns, the sensor hardware may need repair by DJI.
Will a factory reset delete my DJI Neo flight logs?
A factory reset through the DJI Fly app clears stored settings, calibration data, and cached information on the drone. Flight logs stored in the DJI Fly app on your phone remain intact. However, any settings you customized on the drone will need to be set up again after the reset.
Hi, I’m Amy! I’m passionate about tech and love breaking down complex product specs into simple, actionable advice. I review gadgets, compare tools, and write buying guides to help you spend smarter. Got a question? Drop me a message — I’d love to hear from you!