How To Troubleshoot Custom EQ Not Applying To Headphones?
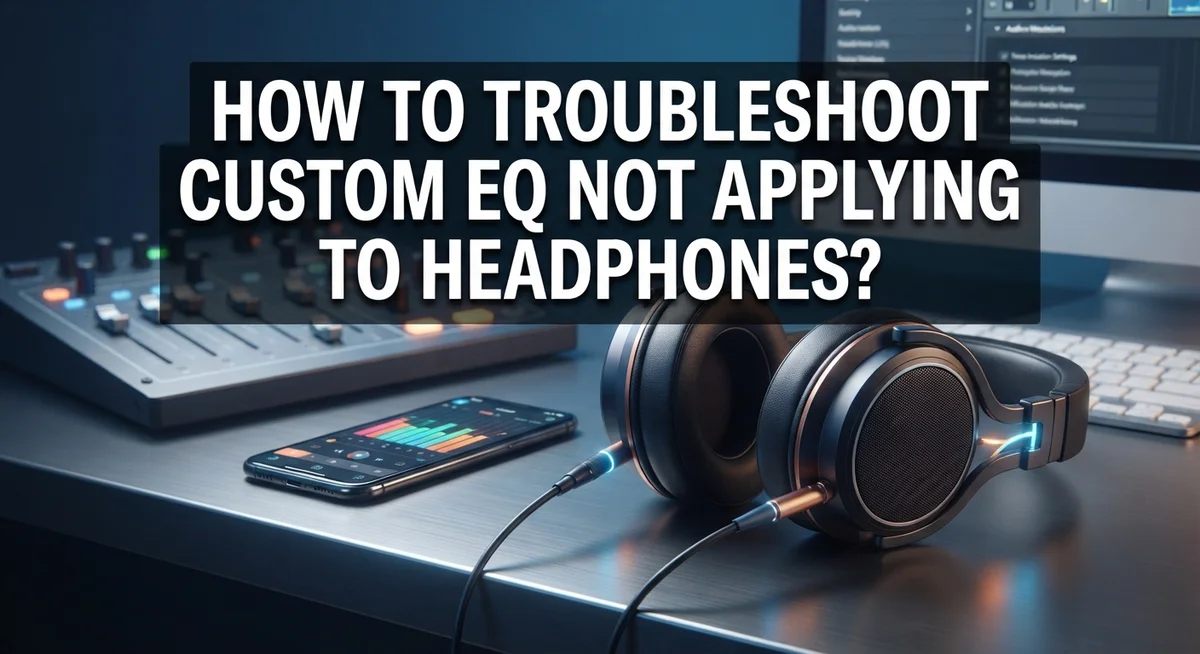
You spent time crafting the perfect EQ profile for your headphones. But when you put them on, the sound is completely flat. Nothing changed. That frustration is more common than you think.
Custom EQ settings not applying to headphones is a surprisingly frequent issue. It can happen after a driver update, a software restart, or even just a small misconfiguration you did not notice.
The good news? Most of these problems have simple fixes.
This guide walks you through the most common reasons your EQ is not working and exactly how to fix each one. You will learn how to verify your settings are actually active, why restarting your app matters more than you think, and how to avoid mistakes like over-boosting frequencies.
By the end, you will know how to confirm your EQ is working, how to properly switch profiles between different headphone models, and how to keep your settings saved and stable.
Let’s get your sound back on track.
In a Nutshell
- Custom EQ not applying usually comes down to a few common software or driver issues that are easy to fix.
- Tools like Equalizer APO and Peace GUI are popular on Windows, but they need correct setup to work properly.
- Unchecking “Use Original APO” in your settings and restarting the app fixes many unresponsive EQ problems.
- Always restart your application after making configuration changes, since many settings only take effect after a full restart.
- A/B testing (toggling EQ on and off) is the best way to confirm your EQ is actually working and making a difference.
- Different headphone models need different EQ profiles, so avoid using the same preset across all your devices.
What Is Custom EQ and How It Works With Headphones
Custom EQ is a feature that adjusts specific sound frequencies to match your listening preferences. Think of it as a volume control for different pitch ranges in your audio. Instead of turning everything up or down together, EQ lets you boost bass, reduce treble, or fine tune the midrange independently.
Your headphones receive audio signals from your device. Before that sound reaches your ears, EQ software intercepts the signal and reshapes it. Each frequency band gets its own slider or control point. You raise some frequencies and lower others based on what sounds best to you.
Different headphones have different acoustic characteristics. Some naturally emphasize bass while others sound thin in the low end. Custom EQ compensates for these differences. You create a profile that makes your specific headphones sound the way you want them to sound.
The process works through software running on your computer or mobile device. The EQ applies mathematical filters to the audio stream before it plays through your headphones. This happens in real time, so adjustments take effect immediately when you toggle the EQ on.
Most EQ software shows a visual graph with frequency ranges along the bottom and volume adjustment on the sides. You click or drag points on this graph to create your custom curve. Some software includes presets for common headphone models, which gives you a starting point for customization.
The key thing to understand is that custom EQ only works when the software is actively running and properly configured. Your headphones themselves have no memory of EQ settings. They simply receive whatever audio signal the software sends them. This is why settings sometimes fail to apply. The software might not be running, the configuration might not be active, or drivers might be blocking the connection between software and your audio device.
Common Reasons Your Custom EQ Is Not Applying
Your custom EQ might not be applying for several straightforward reasons. Understanding these causes helps you fix the problem quickly.
Software settings are often the culprit. The “Use Original APO” checkbox is a common troublemaker. When this box is checked, your EQ adjustments get ignored because the software reverts to default audio processing. Simply unchecking this option usually restores your custom settings immediately.
Another frequent issue involves incomplete restarts. You make changes to your EQ settings, but the application never fully reloads those changes. Software needs a complete restart to activate new configurations. Simply closing and reopening the app often solves this problem.
Driver problems can also block EQ from working. Your headphone or audio device drivers control how sound reaches your headphones. Outdated or corrupted drivers prevent EQ software from communicating properly with your hardware. Updating or reinstalling these drivers usually fixes the connection.
Configuration files sometimes fail to save correctly. Your EQ settings might look correct on screen, but the actual configuration file isn’t storing your changes. This happens when the file is read-only or the software lacks permission to save.
You might also be testing incorrectly. Many people assume EQ isn’t working when they simply can’t hear the difference. Volume levels need to match when you toggle EQ on and off. Otherwise, you’re comparing different volume levels instead of actual EQ changes.
Finally, using the same EQ preset across different headphone models causes problems. Each headphone model has unique acoustic characteristics. A profile that sounds great on one model might sound terrible on another.
How To Check If Your EQ Software Is Properly Configured
Start by opening your EQ software and locating the settings or preferences menu. Look for any checkboxes or toggles that might be disabled. The “Use Original APO” option is a critical setting that often causes problems when left checked.
Uncheck this box if it’s currently enabled. This setting tells your software to bypass the custom EQ you’ve created, which explains why your adjustments aren’t working. After unchecking it, you must restart your application completely.
Next, verify that your configuration file is actually active. Most EQ software saves your settings to a specific file on your computer. Check the settings menu to confirm this file path is correct and the file exists in that location.
Look for any output device settings within your software. Make sure your headphones are selected as the active output device. If the software is configured for speakers or a different audio device, your headphones won’t receive the EQ adjustments.
Test your setup by toggling the EQ on and off several times. Listen carefully for differences in the sound. If you hear clear changes when you switch between on and off, your software is properly configured.
Pay attention to volume levels during this test. Sometimes EQ adjustments seem invisible simply because your comparison wasn’t fair. If you boost frequencies, the sound gets louder overall, which can trick your ears into thinking the EQ is working when it’s just volume.
Finally, check if your software requires administrator permissions to run properly. Some EQ tools need elevated access to apply changes to your system’s audio output. Running the application as administrator often solves configuration issues that seem mysterious otherwise.
Step-by-Step Guide To Fix Custom EQ Not Working
Start by opening your EQ software and accessing the main settings or preferences area. Look for any checkboxes or toggles that might be interfering with your audio output.
The first critical step is unchecking the “Use Original APO” option. This setting often prevents your custom EQ from applying to your headphones. Once you uncheck this box, your software will use the new configuration you created instead of the original audio processing.
After making this change, completely close and reopen your EQ application. A simple refresh isn’t enough. Full restarts ensure your software loads the updated settings properly. This step solves most cases where EQ changes don’t take effect.
Next, verify that your configuration file is active within the software. Check your output device settings to confirm your headphones are selected as the target audio device. Some EQ software allows you to choose which devices receive the EQ adjustments.
Now perform an A/B test by toggling your EQ on and off multiple times. Listen carefully for clear differences in sound. If you hear no change at all, your EQ likely isn’t active yet.
Pay close attention to volume levels during testing. If you boost frequencies too much, the sound becomes louder overall. This can trick you into thinking the EQ works when it’s just volume adjustment. Keep volume consistent between tests.
Check if your software needs administrator permissions to function properly. Right click the application and select “Run as Administrator” if available. Some systems require elevated permissions for audio processing software to work correctly.
If issues persist after these steps, your audio device drivers may need updating or reinstalling.
How To Verify Your EQ Changes Are Actually Taking Effect
Start by toggling your EQ on and off to hear the actual difference. This is your most reliable verification method. Listen carefully for changes in bass, midrange, or treble frequencies between the two states.
Match your volume levels carefully when comparing. If you boost frequencies, the sound naturally becomes louder. This loudness can trick your ears into thinking the EQ is working when it’s just amplification. Use your volume control to keep levels equal during testing.
Open your audio software and check the active configuration file. Verify it shows your custom settings, not default settings. Many users create EQ profiles but forget to activate them. Look for a checkbox or dropdown menu that confirms your profile is selected.
Monitor the software’s visual feedback while toggling EQ. Most equalizer applications display frequency graphs or LED indicators. These visual cues confirm that your adjustments are registering in the system.
Test with different audio tracks to ensure consistent results. Some songs have naturally heavy bass or bright treble. Use multiple tracks to confirm your EQ changes work across various music styles.
Check your headphone connection during testing. Loose connections sometimes prevent EQ from applying properly. Reconnect your headphones and restart your audio software.
Verify that your software is actually processing audio through your headphones. Some systems route audio through different output devices. Confirm your headphones are selected as the active output device in both your software and system settings.
Finally, restart your computer after making EQ adjustments. Software changes sometimes require a full system restart to take complete effect. This simple step resolves many verification issues users encounter.
How Device Driver Updates Can Break Your EQ Settings
Device driver updates can silently break your EQ settings. When your operating system updates audio drivers, it sometimes resets connections between your EQ software and your headphones. This happens because drivers control how your computer communicates with audio hardware.
Here’s what typically occurs: Your EQ software stops recognizing your headphones as the active output device. The software continues running, but it sends EQ adjustments to the wrong audio channel or no channel at all. You hear unprocessed sound while wondering why your custom settings disappeared.
The fix involves reinstalling or updating your audio drivers manually. First, check your device manager for any audio driver updates available. Download the latest version from your headphone manufacturer’s website or your sound card producer. Install the update, then restart your computer completely.
After restarting, open your EQ software and verify the output device selection. Sometimes the software defaults to a different audio interface after a driver update. Select your headphones explicitly from the output menu. Then uncheck any “Use Original APO” settings and restart the EQ application again.
Test your setup thoroughly: Toggle your EQ on and off several times. Listen for clear differences in sound. If nothing changes, your driver update may have caused additional conflicts.
Check your software’s settings menu for any notifications about driver compatibility. Some EQ applications display warnings when they detect driver issues. Update your EQ software itself if newer versions exist. Developers release updates specifically to fix driver compatibility problems.
This preventive approach saves you from losing custom EQ profiles after system updates. Regular driver maintenance keeps your audio setup stable and responsive.
Mistakes To Avoid When Setting Up Custom EQ for Headphones
Many people make simple mistakes when setting up custom EQ for headphones. Understanding these errors helps you avoid frustration and get better sound faster.
Over-boosting frequencies is the biggest mistake. Many users think louder means better. They crank up multiple frequency bands simultaneously. This actually damages sound quality and can hurt your ears. Start with small adjustments instead. Boost or cut by 3 to 6 decibels at first. Listen carefully. Then make additional changes if needed.
Skipping the restart step causes major problems. After you change EQ settings, your software needs a full restart to apply them. A simple refresh doesn’t work. Close the application completely. Wait a few seconds. Then reopen it. This ensures your changes actually take effect.
Not performing A/B tests leaves you guessing. Toggle your EQ on and off while listening to the same song. You should hear a clear difference. If you don’t notice any change, something is wrong with your setup. This test confirms your EQ is actually working.
Using the same preset across different headphone models is another common error. Each headphone type has unique sound characteristics. A preset perfect for one model may sound terrible on another. Disable your EQ when switching headphones. Create separate profiles for each model you own.
Forgetting to match volume levels during testing misleads your ears. When you boost frequencies, the overall volume increases. This makes the sound seem “better” just because it’s louder. Lower your volume to match both EQ on and off states. This gives you an honest comparison of actual sound quality changes.
Tips for Managing EQ Profiles Across Multiple Headphones
Managing EQ profiles across multiple headphones requires a smart system. Each headphone model has unique acoustic properties, so one profile rarely works for all devices.
Start by creating separate profiles for each headphone. Name them clearly with the headphone model and date. Store these profiles in an organized folder on your computer. This approach prevents confusion when switching between devices.
When you switch headphones, disable your current EQ profile first. Open your audio software and select the correct profile for your new headphones. Many users forget this step and wonder why their sound sounds wrong. Disabling EQ before switching protects your hearing and prevents audio damage from mismatched settings.
Test each profile thoroughly after loading it. Play your favorite music track and listen for at least 30 seconds. Toggle the EQ on and off to confirm the changes match what you expect. This verification step takes only a minute but saves hours of troubleshooting.
Keep backup copies of all your profiles in a separate location. Hard drives fail without warning, and losing custom EQ settings is frustrating. Cloud storage or external drives work well for this purpose.
Update your profiles periodically. Your hearing changes over time, and headphone performance can shift as drivers age. Review your settings every few months and adjust frequencies if needed.
Document your EQ adjustments in a simple text file. Write down which frequencies you boosted or reduced and why. This record helps you remember your choices and speeds up troubleshooting later.
Finally, test your profiles on different audio sources. Music, podcasts, and videos each reveal different aspects of your EQ setup. Comprehensive testing ensures your profiles work across all listening situations.
Final Thoughts
Troubleshooting custom EQ issues with headphones does not have to be frustrating. Most problems come down to a few simple causes that are easy to fix once you know what to look for.
Start by checking your basic settings. Make sure your EQ software is actually enabled and pointing to the correct output device. A small oversight here causes most EQ failures.
Always restart your application after making any configuration changes. Many users skip this step and wonder why nothing sounds different. Your software needs a fresh start to apply new settings properly.
Use the A/B test method to confirm your EQ is actually working. Toggle the EQ on and off while listening to the same audio clip. If you hear a clear difference, your EQ is active and working.
Match your volume levels when comparing EQ states. Your ears can trick you into thinking EQ is not working when the real issue is a slight volume difference. Equal volume levels give you an honest comparison.
Keep your audio drivers updated and reinstall them if something breaks unexpectedly. Driver updates can silently disconnect your EQ software from your headphones. Checking your driver status takes only a few minutes.
Avoid over-boosting frequencies in your EQ settings. Less is often more when shaping your sound. Subtle adjustments usually produce the most natural and satisfying results.
Custom EQ is a powerful tool when set up correctly. The key is patience, testing, and paying attention to small details like device selection and restart steps. Once everything is configured properly, you will enjoy a much better listening experience tailored to your exact preferences.
Frequently Asked Questions
Why isn’t my custom EQ showing any sound changes?
Your EQ might not be active yet. First, check that your software is actually running. Open your equalizer application and look for an “on/off” toggle button. Many users forget this simple step.
Next, verify your configuration file is saved. Some software requires you to manually apply settings before they take effect. Look for an “Apply” or “Save” button in your settings menu.
Finally, try the toggle test. Turn your EQ on and off several times while listening to music. You should hear a clear difference. If you hear nothing, your EQ isn’t connected to your headphones properly.
Do I need to restart my computer after changing EQ settings?
You don’t need to restart your computer, but you must restart your application. Close your equalizer software completely and open it again. This refresh allows the software to reload your new settings.
Many EQ programs require this restart to communicate properly with your audio drivers. Skipping this step is one of the most common reasons custom EQ fails to work.
Can I use the same EQ profile for all my headphones?
No, you shouldn’t use the same profile for different headphones. Each headphone model has unique sound characteristics. What sounds great on one model might sound terrible on another.
Create separate profiles for each headphone type. Label them clearly so you know which is which. When you switch headphones, disable your current profile first, then load the correct one for your new headphones.
How do I know if my EQ is actually working?
The best test is the A/B comparison method. Toggle your EQ on and off while playing the same song. Listen carefully for differences in bass, midrange, or treble.
Make sure you keep the volume at the same level during both tests. Volume differences can trick your ears into thinking the EQ is working when it’s really just louder.

Hi, I’m Amy! I’m passionate about tech and love breaking down complex product specs into simple, actionable advice. I review gadgets, compare tools, and write buying guides to help you spend smarter. Got a question? Drop me a message — I’d love to hear from you!